Input Devices
Semana 09: INPUT DEVICES – Cindy Marilyn Crispin
Tarea individual:
Measure something: Add a sensor to a microcontroller board you designed and read it
Group task:
Poll analog levels and digital signals from an input device
B. Group work
The digital signal coming from the level sensor to the ATmega328P board was tested using the Owon SDS7202 oscilloscope. It was verified that the signal has a square shape, with fast transitions and without significant undulations, which ensures correct interpretation by the microcontroller.
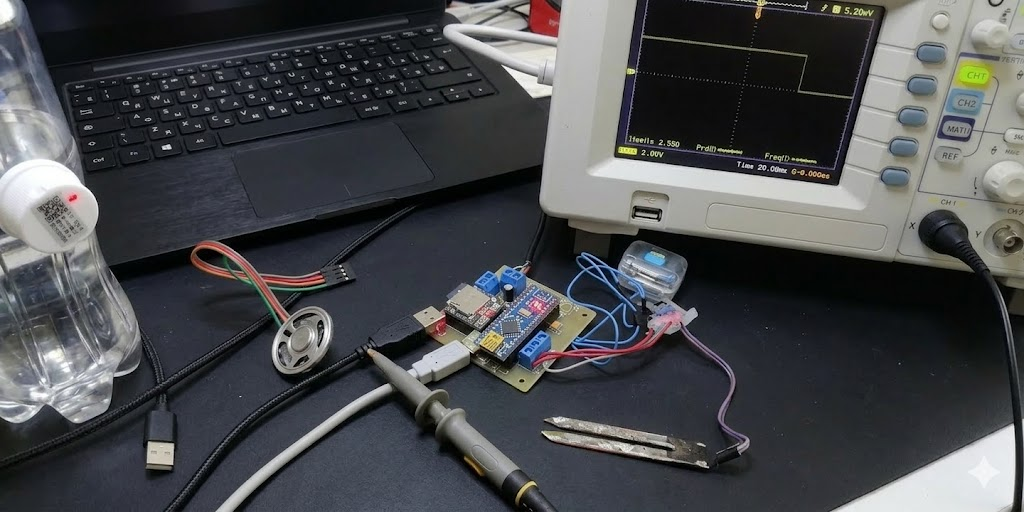
The level sensor delivers a digital signal with a TTL voltage of approximately 3.92V when it detects liquid. The ATmega328 microcontroller, powered at 5V, recognizes as a high logic level any voltage greater than 0.6 × Vcc ≈ 3.0V. Therefore, the sensor output is perfectly compatible and will be interpreted as a “logic 1” without the need for level converters.
To ensure signal stability and protect the microcontroller pin, the following connection is recommended:
Series resistance (220–470Ω): protects against transient spikes.
Decoupling capacitor (100nF to ground): filters high frequency noise.
Common ground connection (GND): the sensor and the microphone must share the same reference.
Optionally, in environments with a lot of electrical noise, a buffer with a Schmitt trigger (e.g. 74HC14) can be added to improve the definition of the signal edges.
Connection diagram (ASCII)
Código
+5V
|
[Level Sensor]
|
|----[220Ω]----> [Pin digital ATmega328]
|
+----[100nF]----> GND
Sensor GND ----------------> GND ATmega328
A. ASIGNACIÓN INDIVIDUAL
Sensores y transductores
We have a wide variety of sensors and transducers that allow us to measure different physical variables in the environment. These devices convert physical phenomena such as temperature, light, pressure or humidity into electrical signals that can be processed by a microcontroller.
In this project it was decided to work with an HL-69 Soil Moisture Sensor, which allows measuring the level of humidity present in the soil. This sensor is widely used in automatic irrigation systems, smart agriculture and environmental monitoring, as it allows you to know when the soil is dry or wet.
The objective of the project was to integrate the HL-69 sensor with a board based on the ATmega328P microcontroller, so that the system can detect the state of soil moisture and emit an alert signal using an LED and an LCD screen.

HL-69 Soil Moisture Sensor
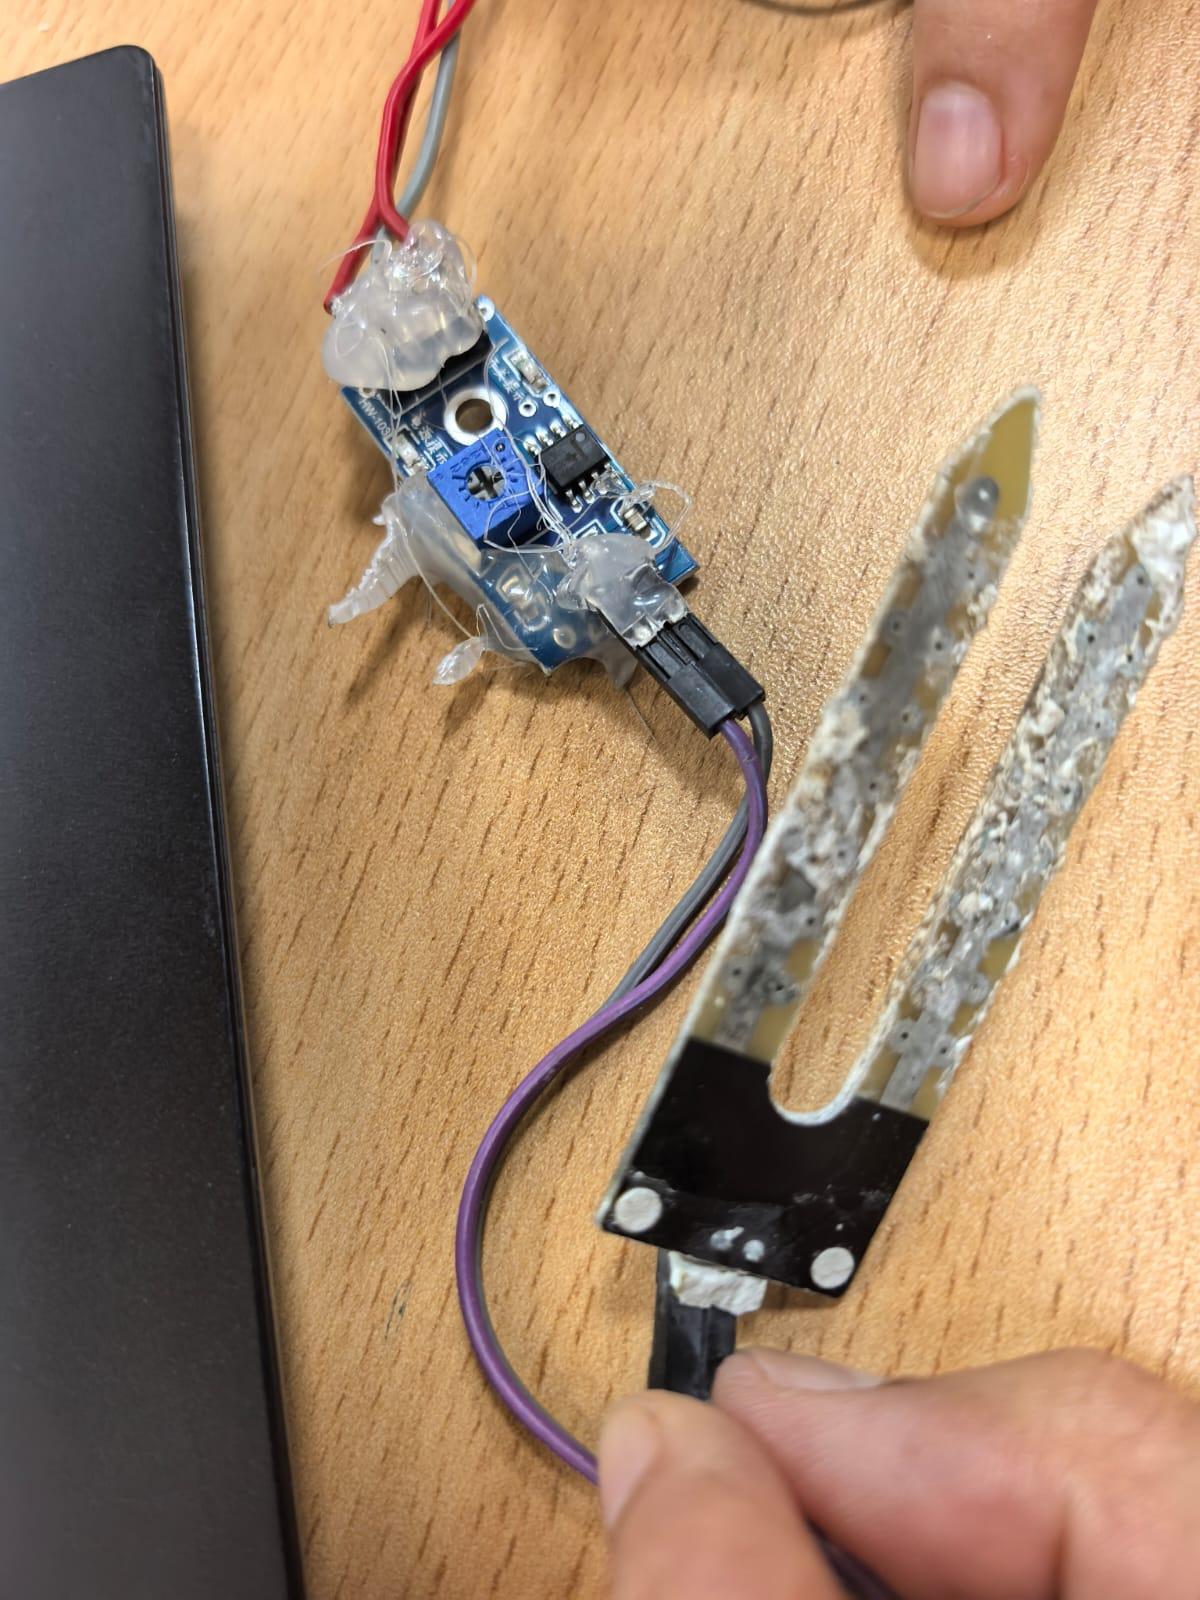
For the development of the project, the HL-69 Soil Moisture Sensor was used, which measures soil moisture from the electrical conductivity between its two metal electrodes.
When the soil is wet, the electrical conductivity increases, allowing the sensor to generate a signal that can be read by the microcontroller. On the contrary, when the soil is dry, the conductivity decreases and the sensor sends a different signal.
(Here you place the sensor images)
HL-69 Sensor Features
Operating voltage: 3.3V – 5V
Salida: Digital y analógica
Common use: automatic irrigation systems
Low cost and easy integration with microcontrollers
Pin Description
Generally the module has the following pins:
VCC → Alimentación (3.3V o 5V)
GND → Tierra
DO → Salida digital
AO → Salida analógica
Project application
The developed application consists of detecting the soil moisture level to determine if the land is dry or wet.
When the sensor detects sufficient humidity:
ATmega328P microcontroller receives the signal from the sensor
Se activa un LED indicador
A message is displayed on the LCD screen indicating the status of the floor
This type of system can be used in:
Agricultura inteligente
Automatic irrigation systems
Plant monitoring
Home automation and automation projects
First test with ATmega328P
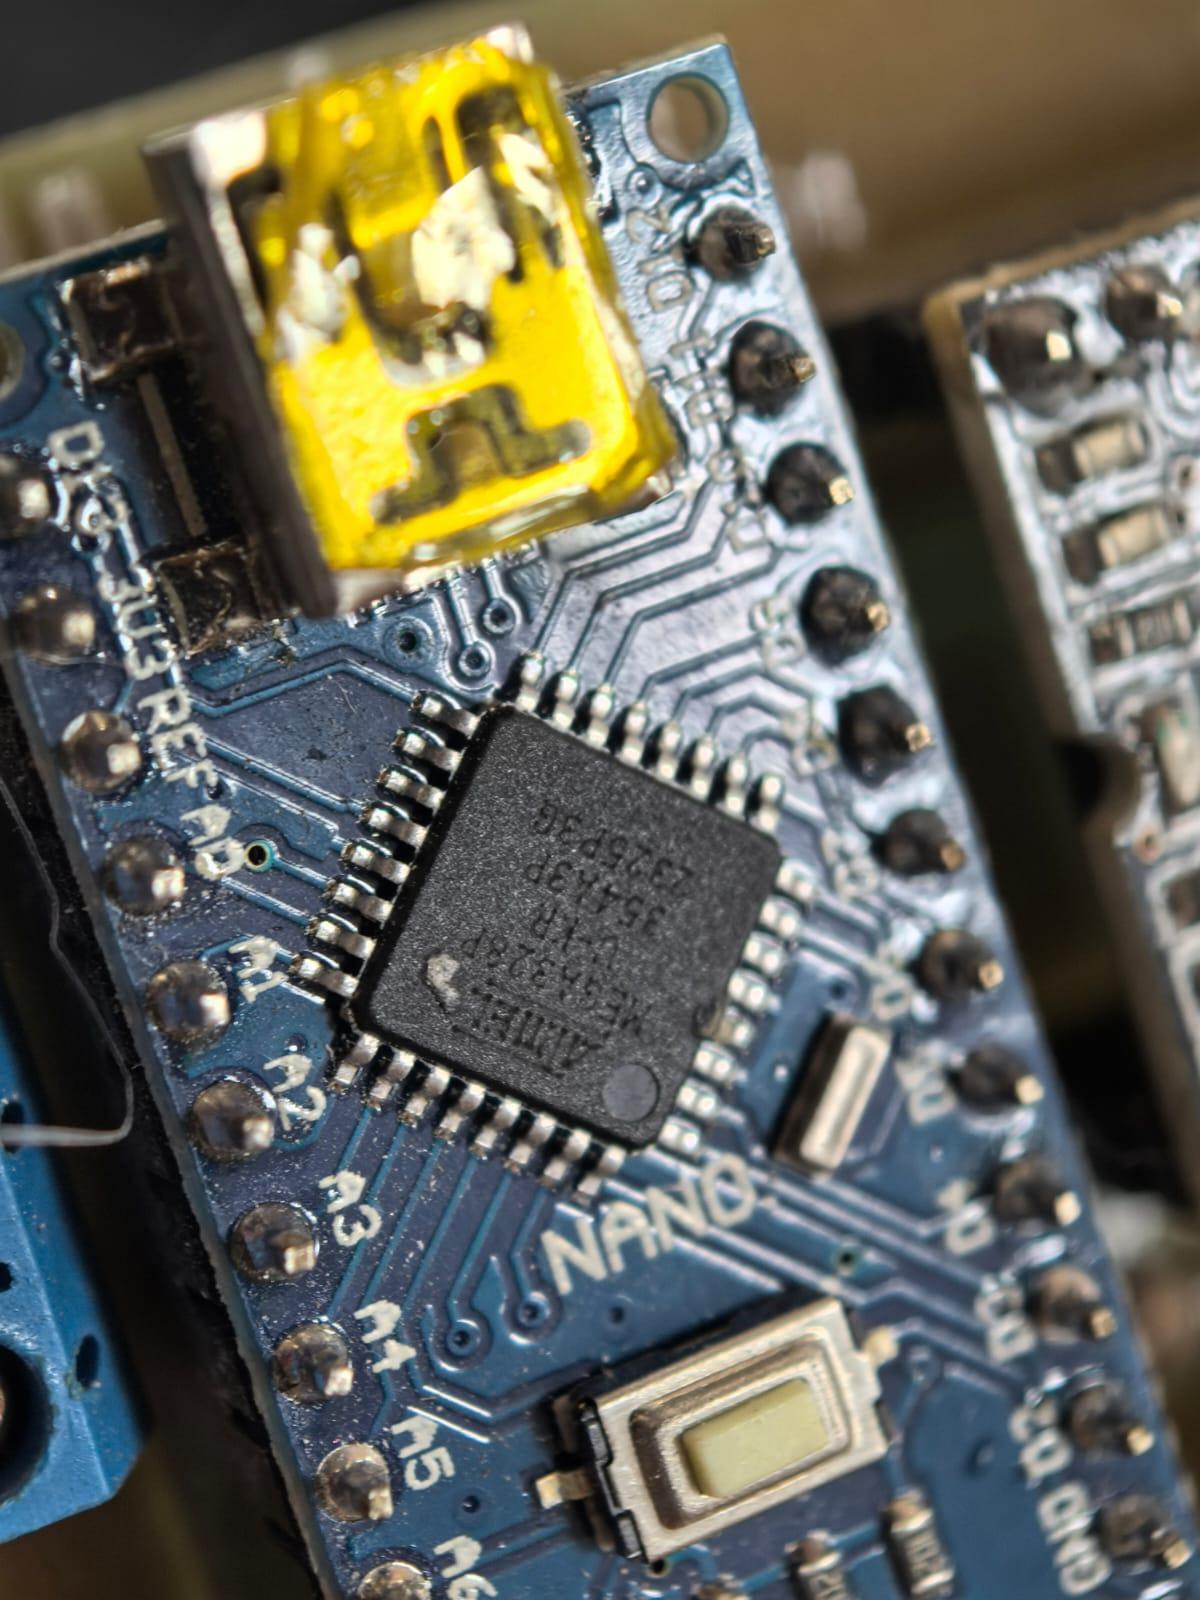
To validate the operation of the sensor, an initial test was performed using an ATmega328P (Arduino) based board.
The sensor connects to digital pin 6, while the Arduino's internal LED (pin 13) is used as a visual indicator of humidity status.
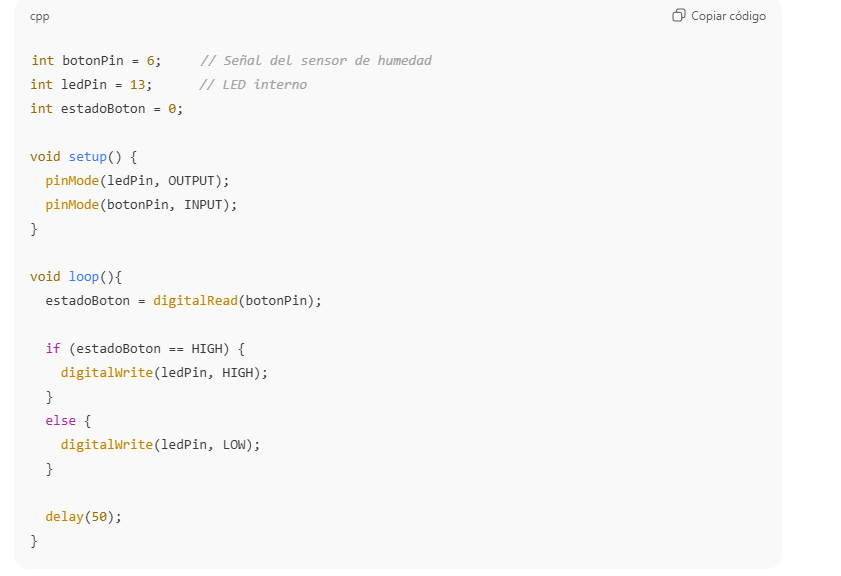
Test code
First test with ATMega328P
int buttonPin = 6; // Humidity sensor signal
int ledPin = 13; // LED interno
int estadoBoton = 0;
void setup() {
pinMode(ledPin, OUTPUT);
pinMode(botonPin, INPUT);
}
void loop(){
estadoBoton = digitalRead(botonPin);
if (estadoBoton == HIGH) {
digitalWrite(ledPin, HIGH);
}
else {
digitalWrite(ledPin, LOW);
}
delay(50);
}
When loading the program on the board, tests were carried out by placing the sensor in dry soil and wet soil.
When the sensor detects sufficient moisture in the soil, the LED turns on, indicating that the system is working correctly.
Integration with I2C LCD display
After checking the operation of the sensor, an LCD screen with I2C communication was integrated to display informative messages about the status of soil moisture.
The display uses the following Arduino pins:
SDA → A4
SCL → A5
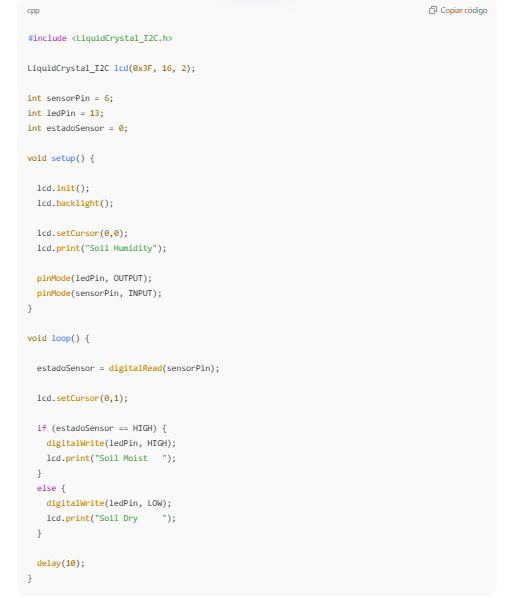
Code with LCD
#include <LiquidCrystal_I2C.h>
LiquidCrystal_I2C lcd(0x3F, 16, 2);
int sensorPin = 6;
int ledPin = 13;
int estadoSensor = 0;
void setup() {
lcd.init();
lcd.backlight();
lcd.setCursor(0,0);
lcd.print("Soil Humidity");
pinMode(ledPin, OUTPUT);
pinMode(sensorPin, INPUT);
}
void loop() {
estadoSensor = digitalRead(sensorPin);
lcd.setCursor(0,1);
if (estadoSensor == HIGH) {
digitalWrite(ledPin, HIGH);
lcd.print("Soil Moist ");
}
else {
digitalWrite(ledPin, LOW);
lcd.print("Soil Dry ");
}
delay(10);
}
In this program the screen shows two states:
“Soil Moist” → when the soil is moist
“Soil Dry” → when the soil is dry
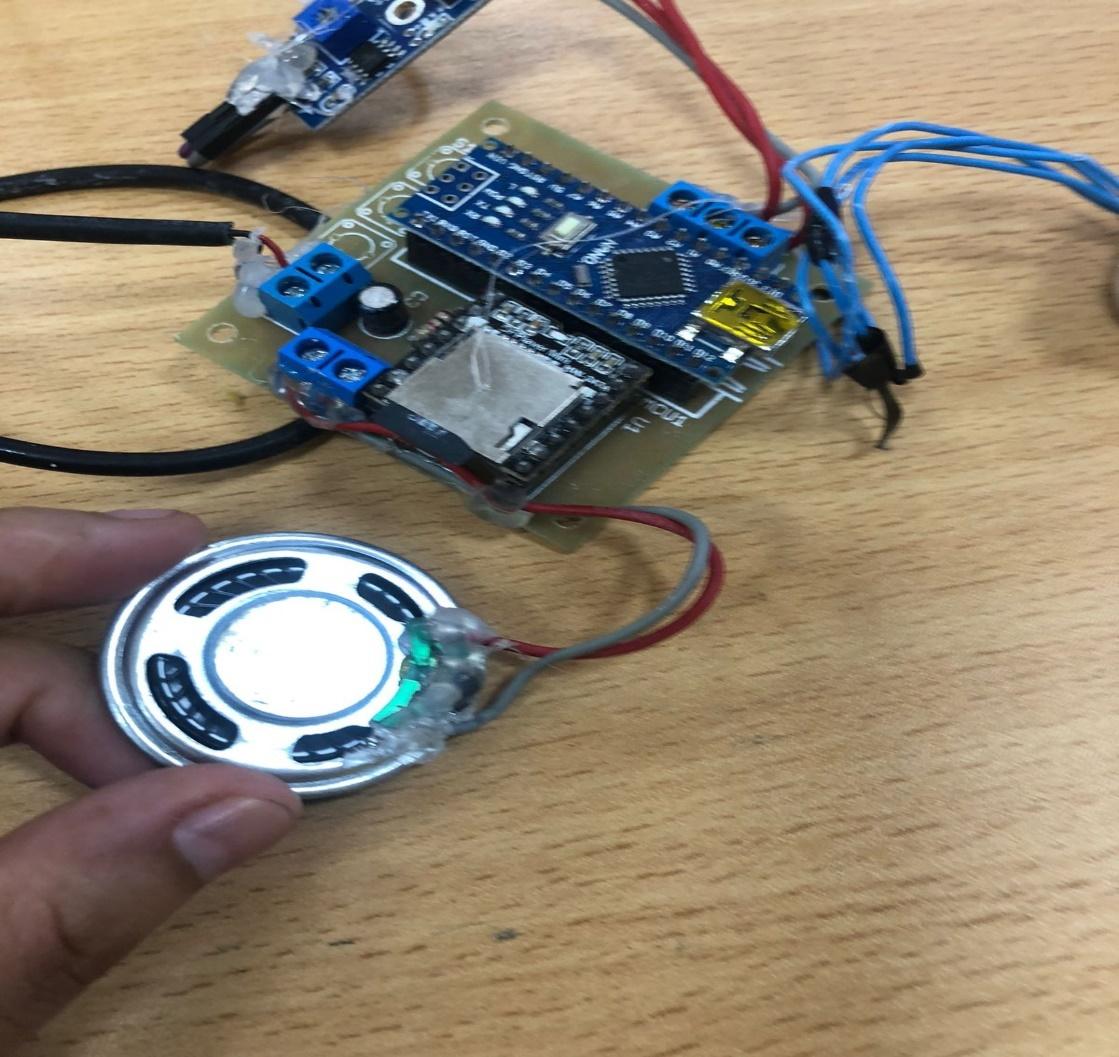
Resultado final
After making the connections and loading the program on the board with ATmega328P, the system works correctly:
The HL-69 sensor detects soil moisture.
The LED lights up as a visual indicator.
The LCD screen shows the status of the ground.
https://www.youtube.com/watch?v=BrasL6wJYNI
Conclusión
The development of this project allowed us to understand the operation of the HL-69 soil moisture sensor and its integration with microcontrollers such as the ATmega328P.
This system demonstrates how it is possible to build simple solutions to monitor the state of the soil, which can be applied in automatic irrigation systems, smart agriculture and automation projects.
Design files