Computer Controlled Machining
Semana 07: Computer Controlled Machining – Fab Academy 2025
Group Assignment
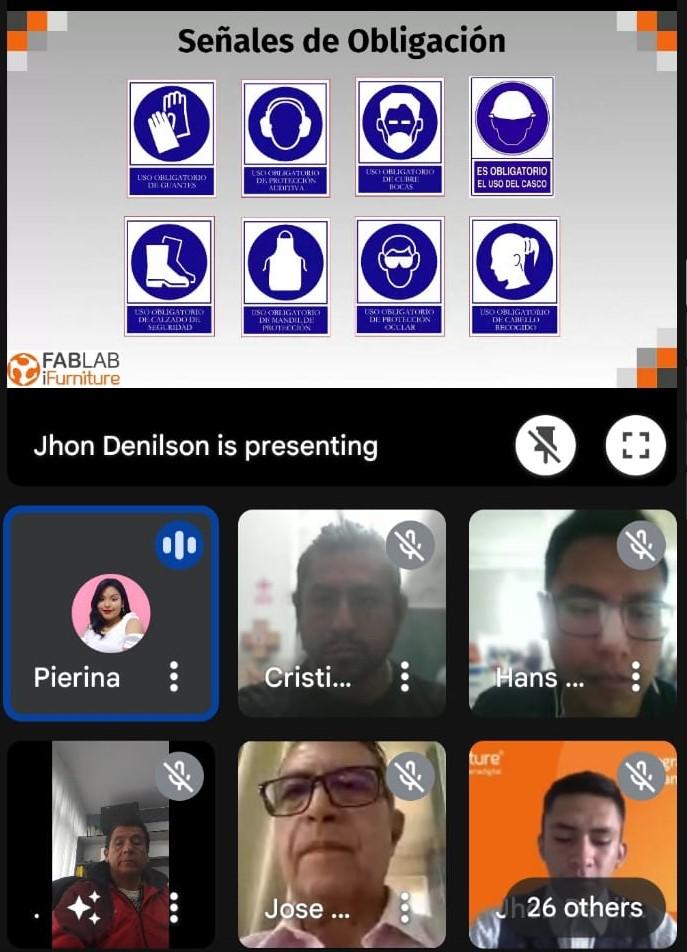
Laboratory Safety Training
As part of the group work, we carried out safety training in the FabLab HUANDO laboratory. Before operating any machine, we understood that security is not optional, it is an essential part of the digital manufacturing process.
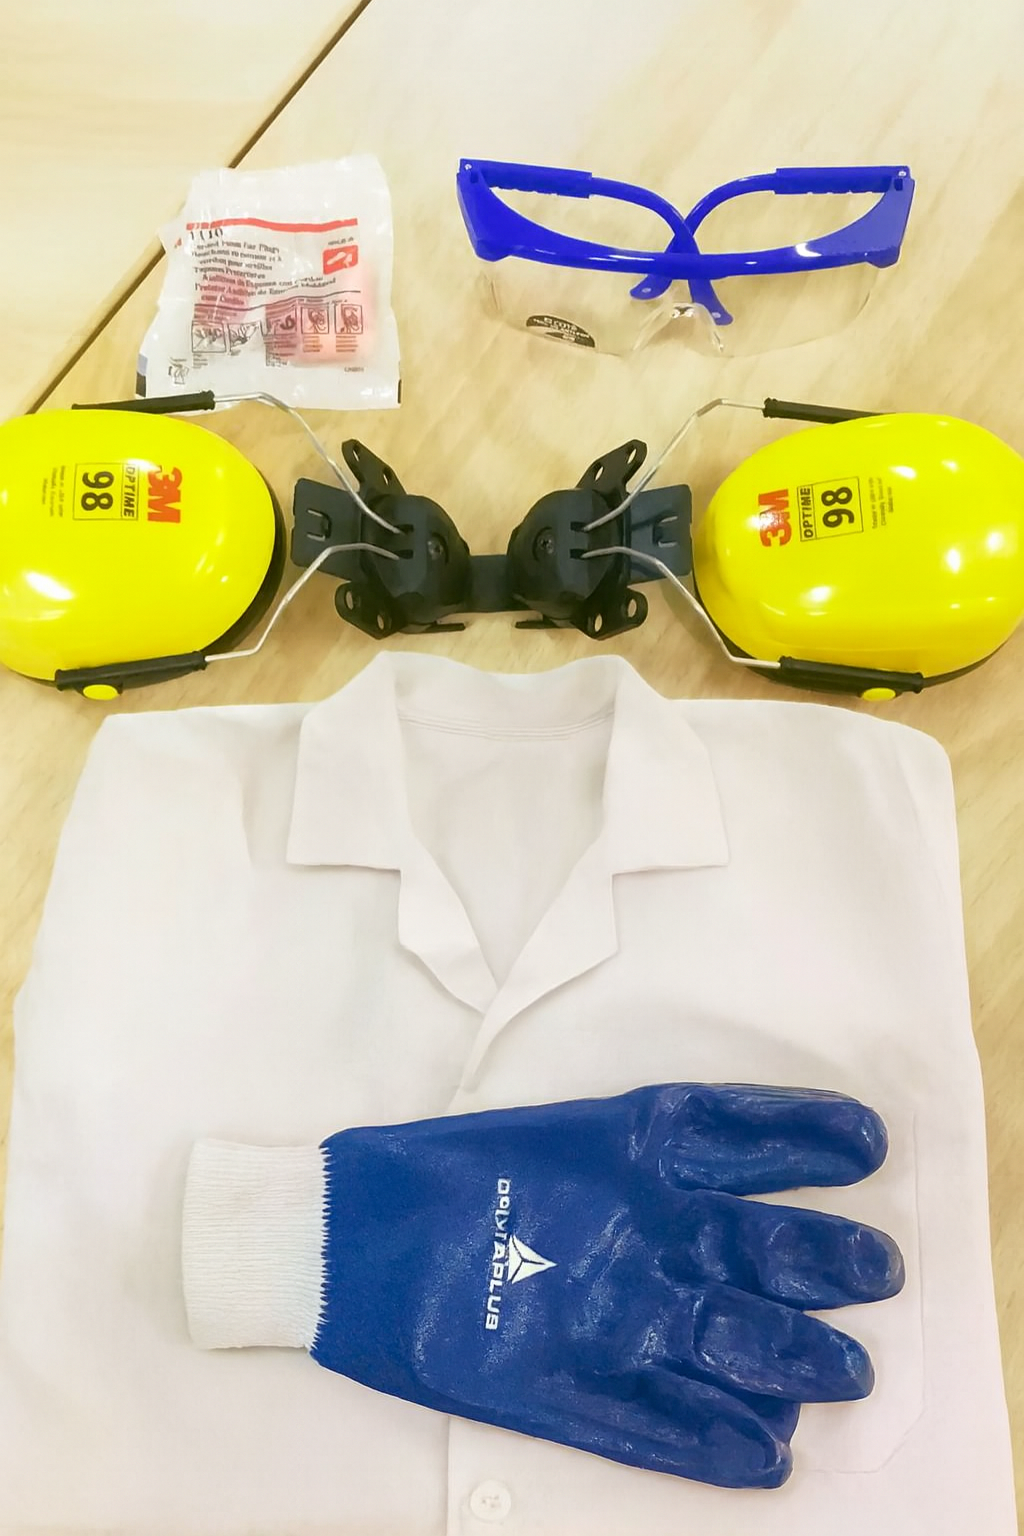
The security elements available in the FabLab are:
Eye protection glasses.
Cotton gloves with nitrile-coated palm.
Hearing protection earmuffs with three positions.
Disposable foam earplugs.
Bata blanca.
Each of these implements fulfills a specific function to protect us against particles, noise and possible accidents during machining.
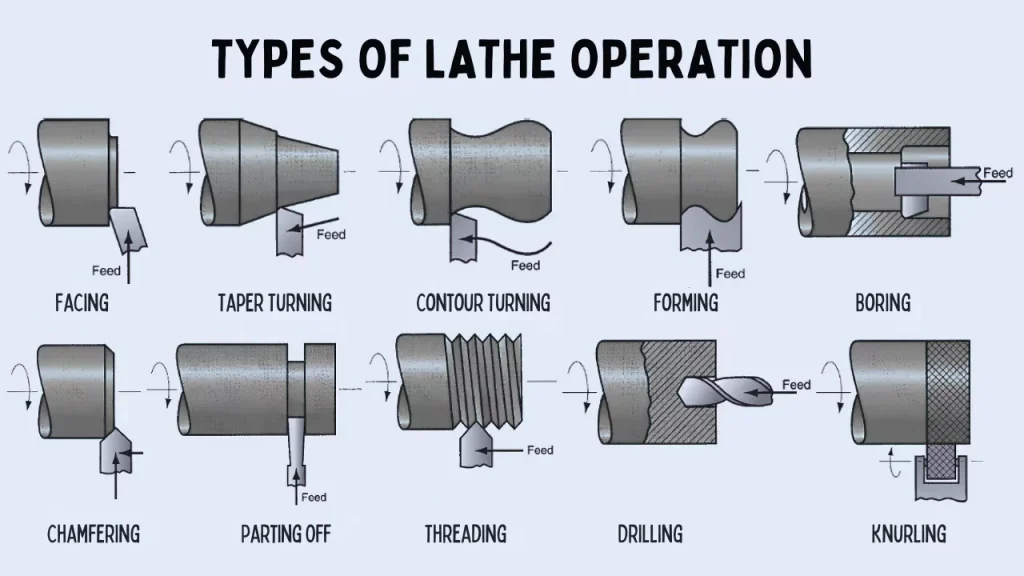
Anatomy of the Drill Bit
We understood that not all drill bits are the same. There are different types depending on the cutting length, the material and the type of work to be done.
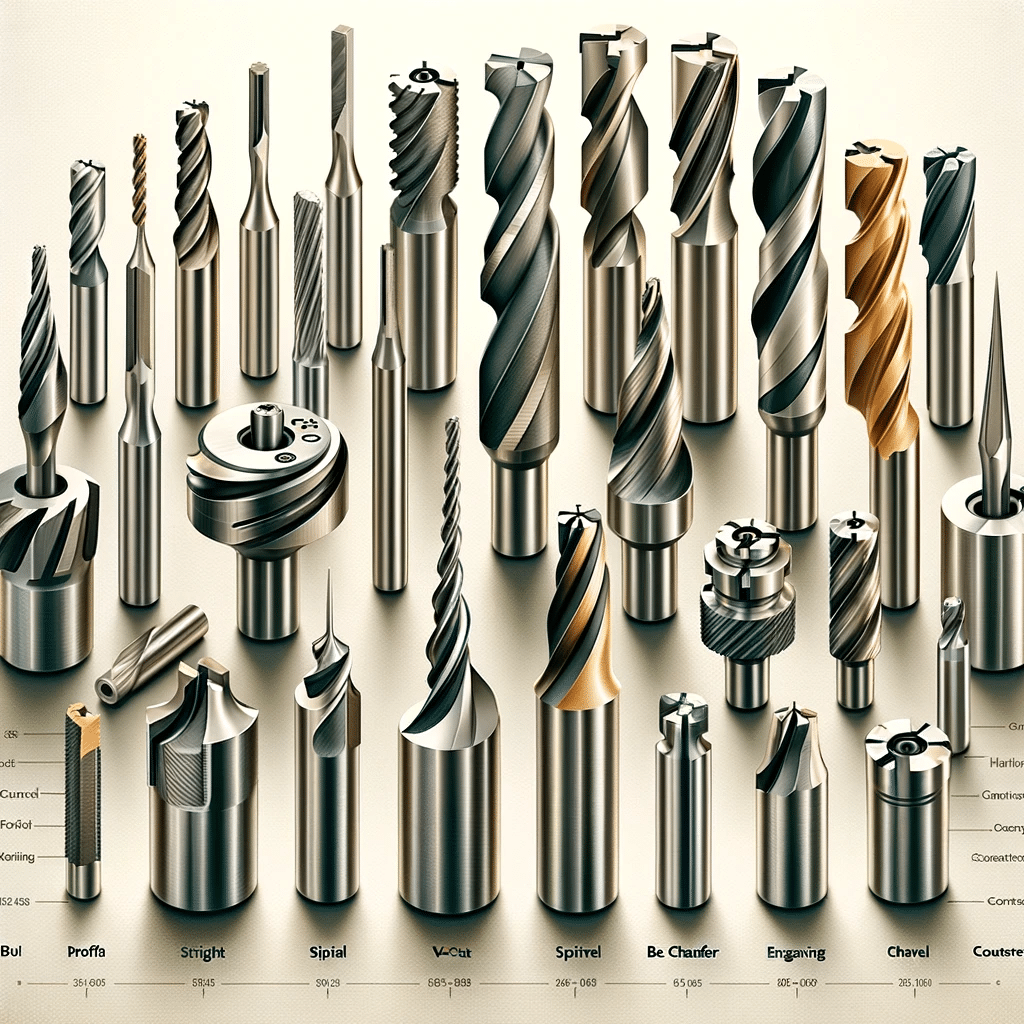
Knowing the anatomy of the drill bit is important to understand how it cuts the material and how it influences the final finish.
Cutting Direction
The cutting direction directly influences:
The useful life of the tool.
The quality of the finish.
The behavior of the material.
Correctly choosing the cutting direction depends on the type of material, the specifications of the machine and the result you want to obtain.
Cutting Speed
The cutting speed corresponds to the peripheral speed of the tool. It should not be confused with forward speed.
Cutting speed is related to the tool.
The feed speed is related to the movement over the material.
To determine these values, you can use a manufacturer's technical table or perform the corresponding mathematical calculation.
Spindle Speed and Feed
The feed speed depends on the spindle speed. If configured incorrectly it can:
Generate excess dust.
Burn the material.
Premature tool wear.
That is why it is important to respect the recommended technical parameters.
Corte Exterior e Interior
There are different types of cutting depending on the piece to be manufactured. Due to the thickness of the tool, it is necessary to consider compensations so that the final dimensions are accurate.
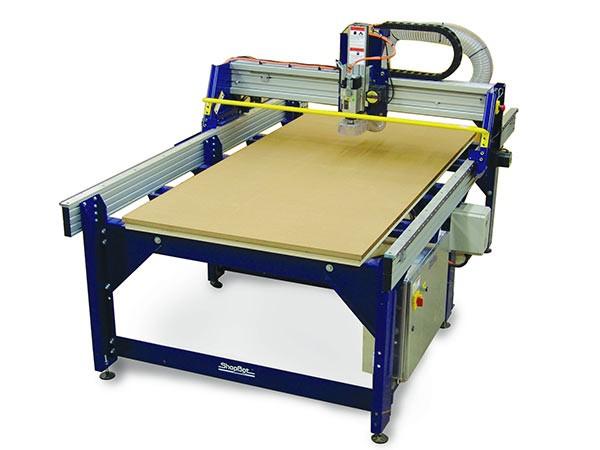
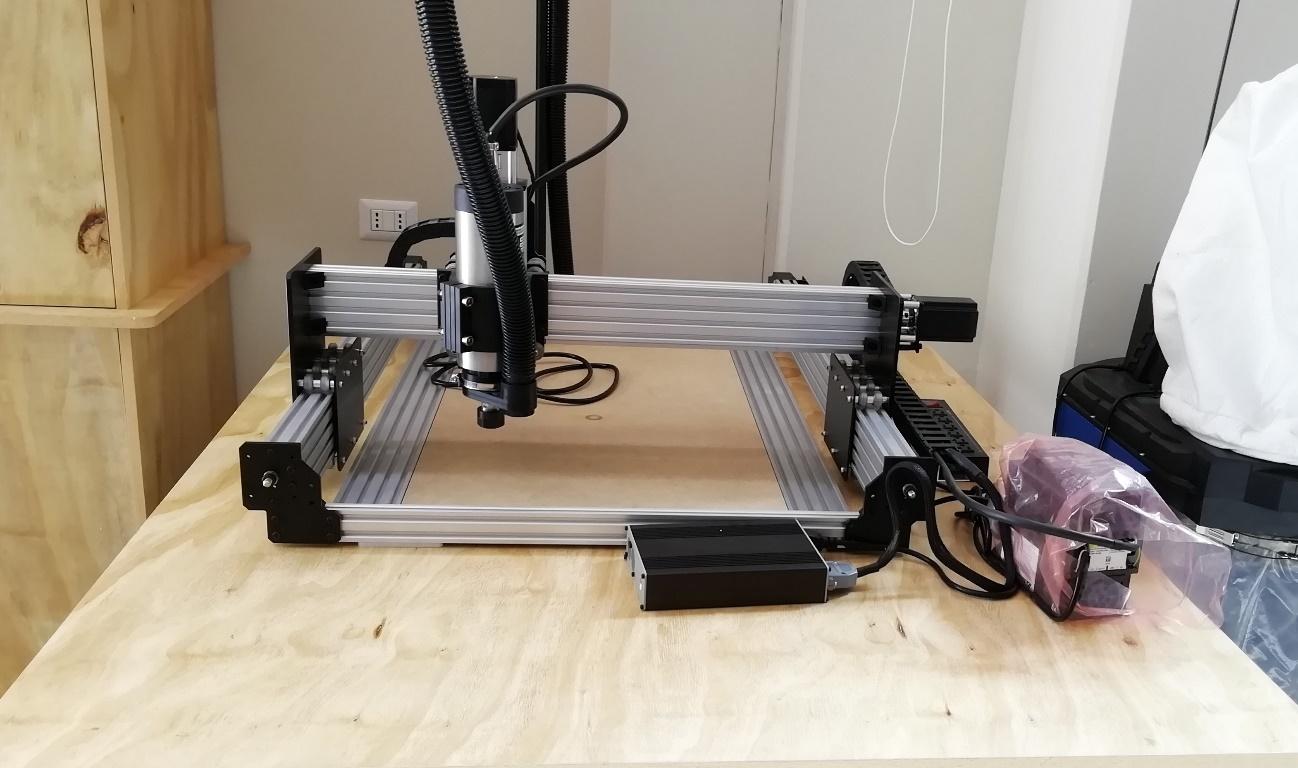
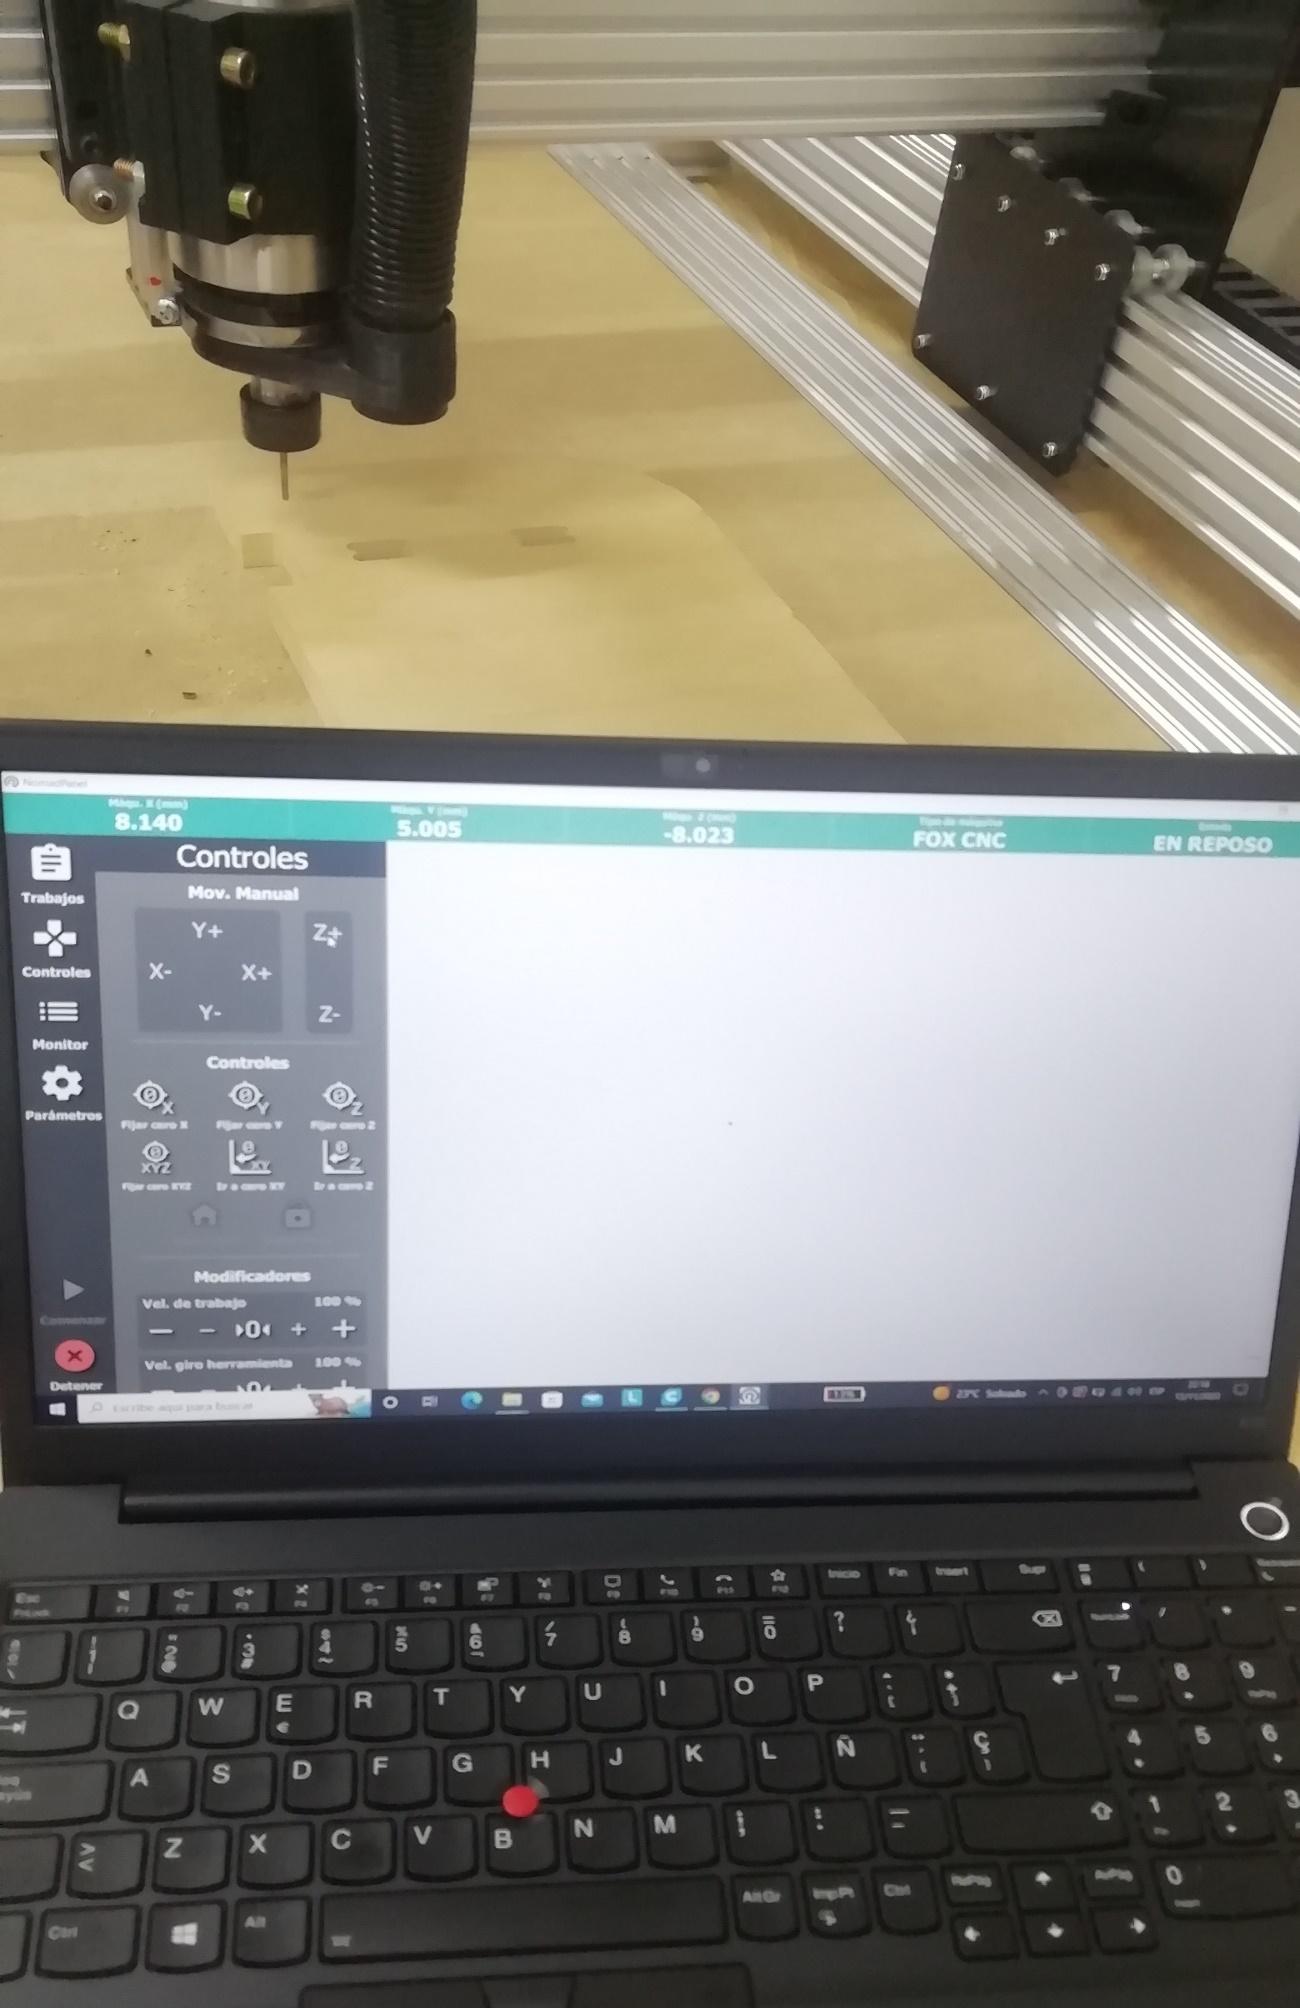
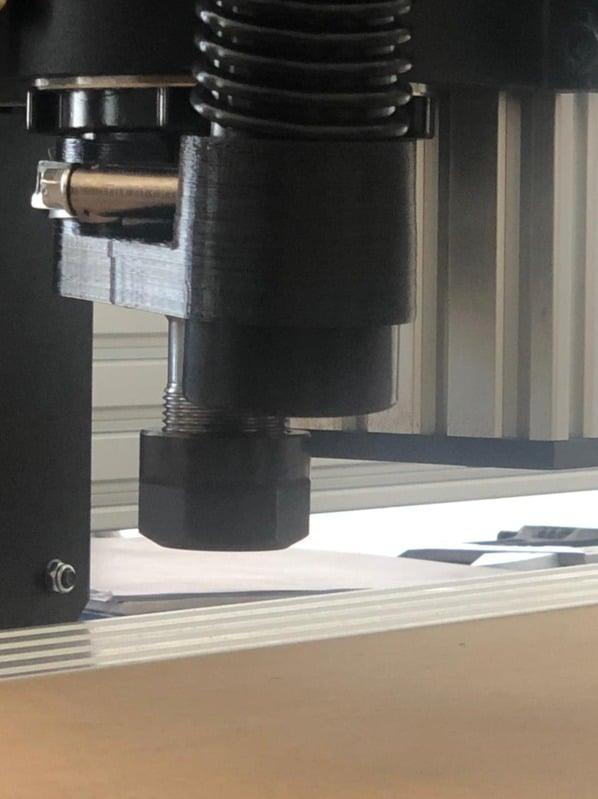
Milling Tool Setup
The CNC milling machine available in the FabLab is NomadTech.
For its configuration we must consider the cutting parameters recommended by the manufacturer:
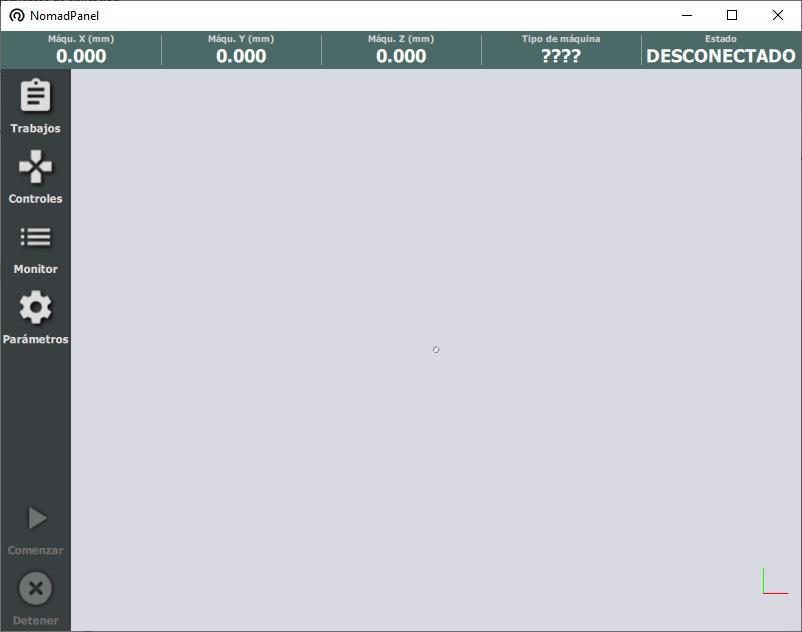
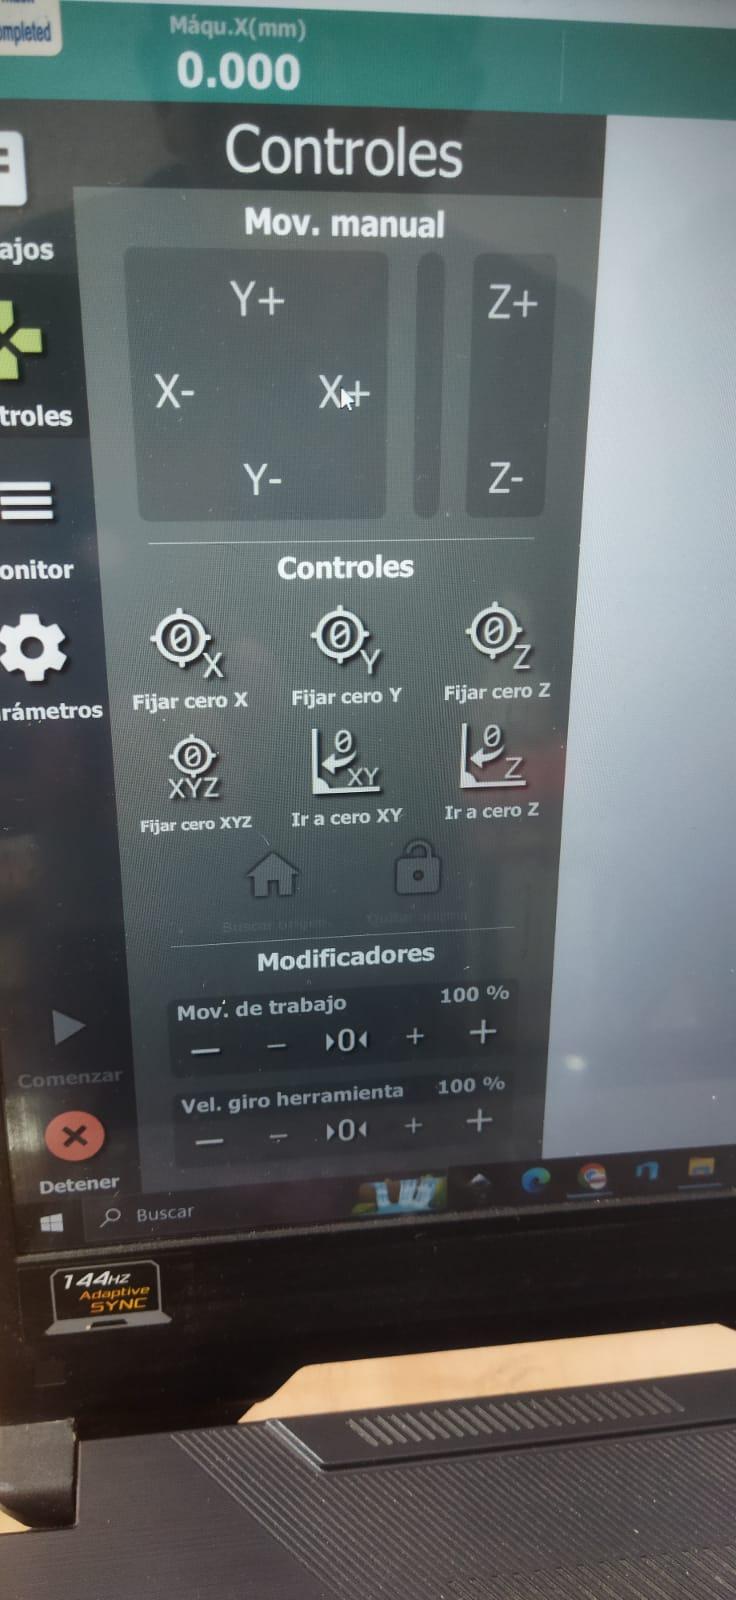
The program used to control the machine was:
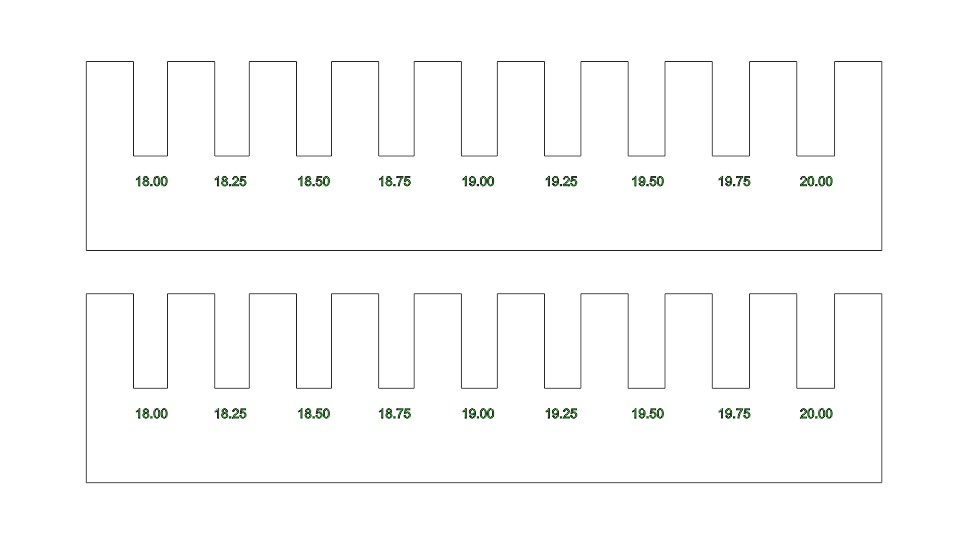
Shear Tolerance Test Design
As material we use 9 mm thick MDF.
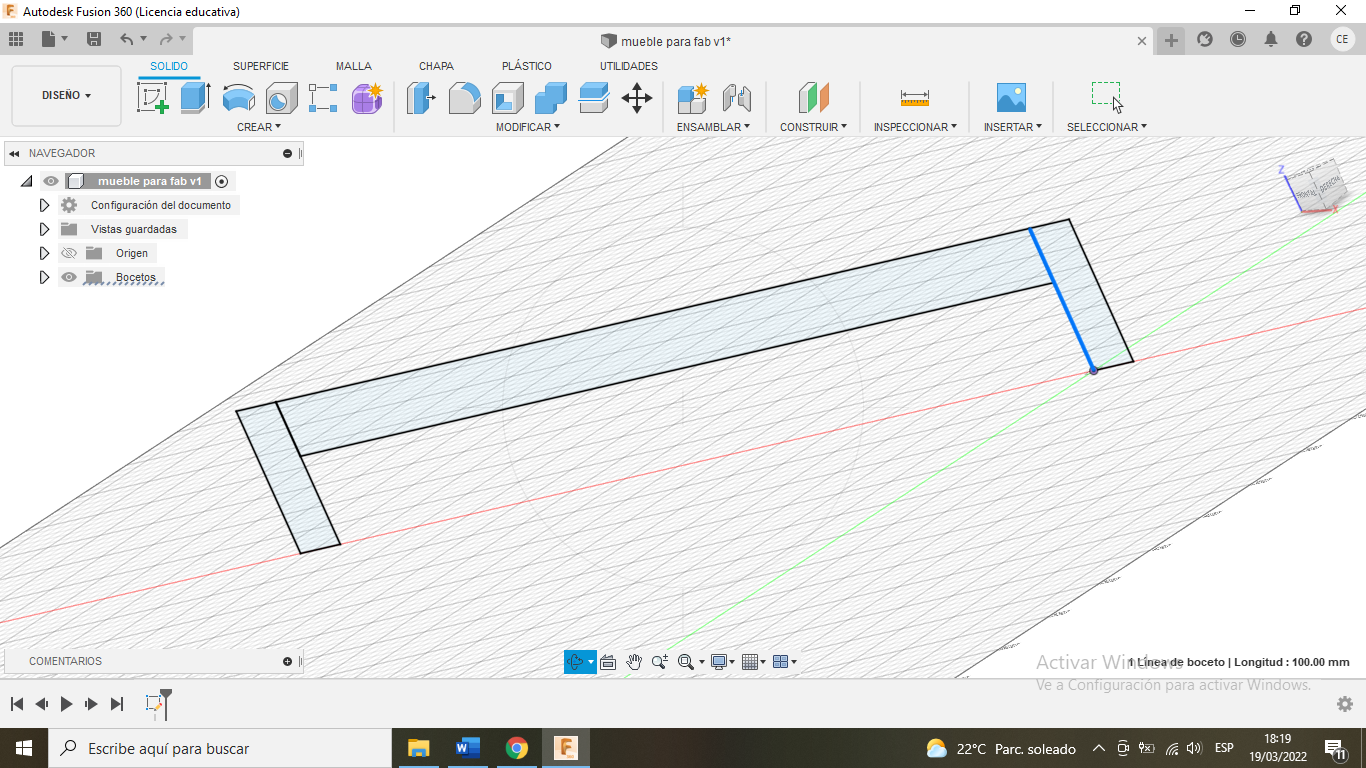
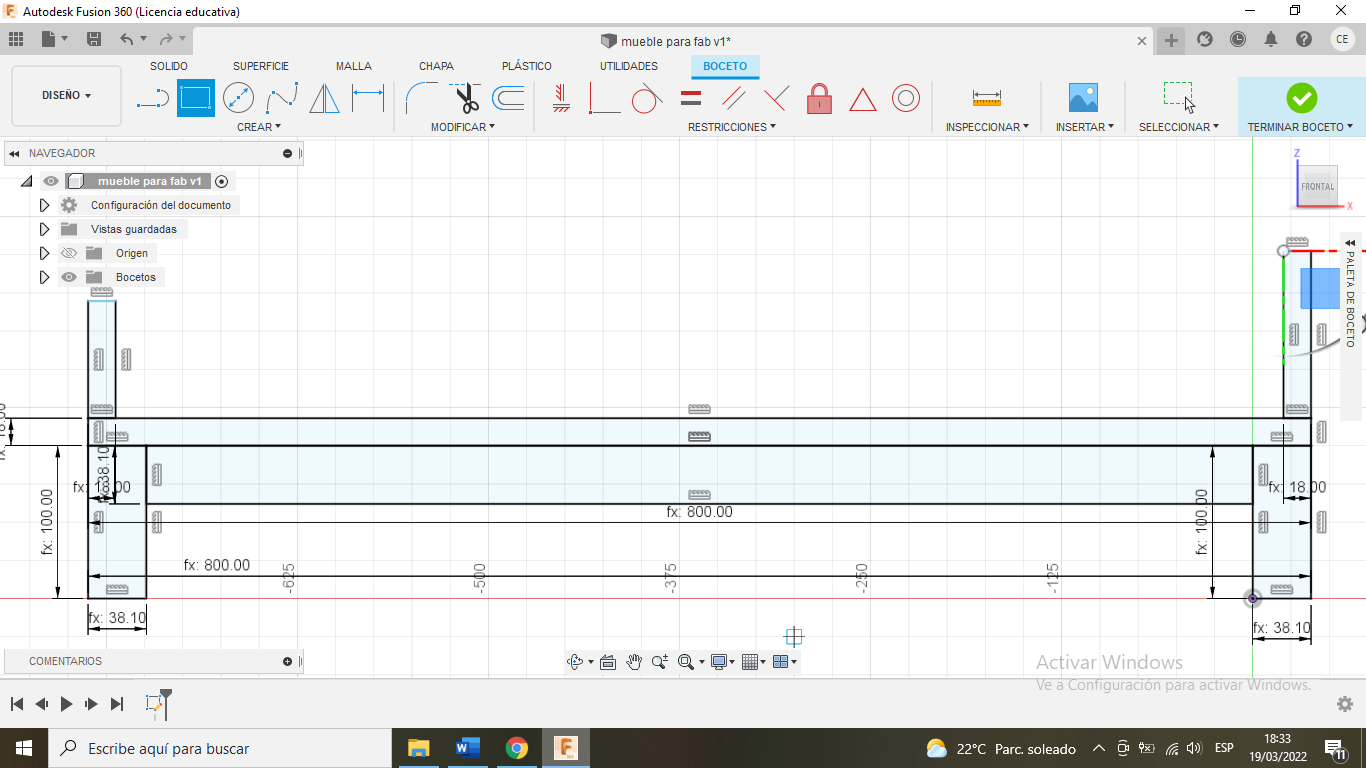
To design the tolerance test we model the parts in 3D
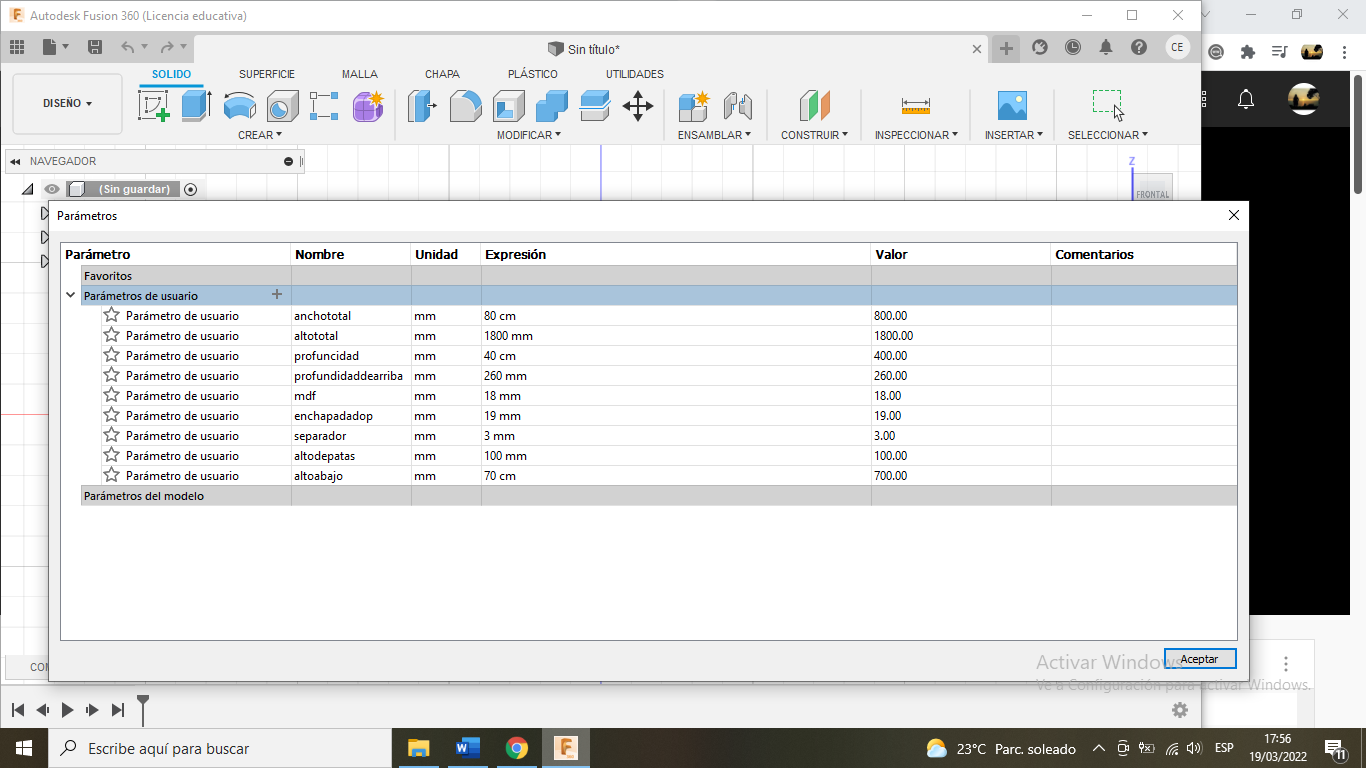
We work with a 6 mm drill bit. To avoid interference in the internal corners, we slightly increased the measurement to 6.1 mm, allowing for a better fit.
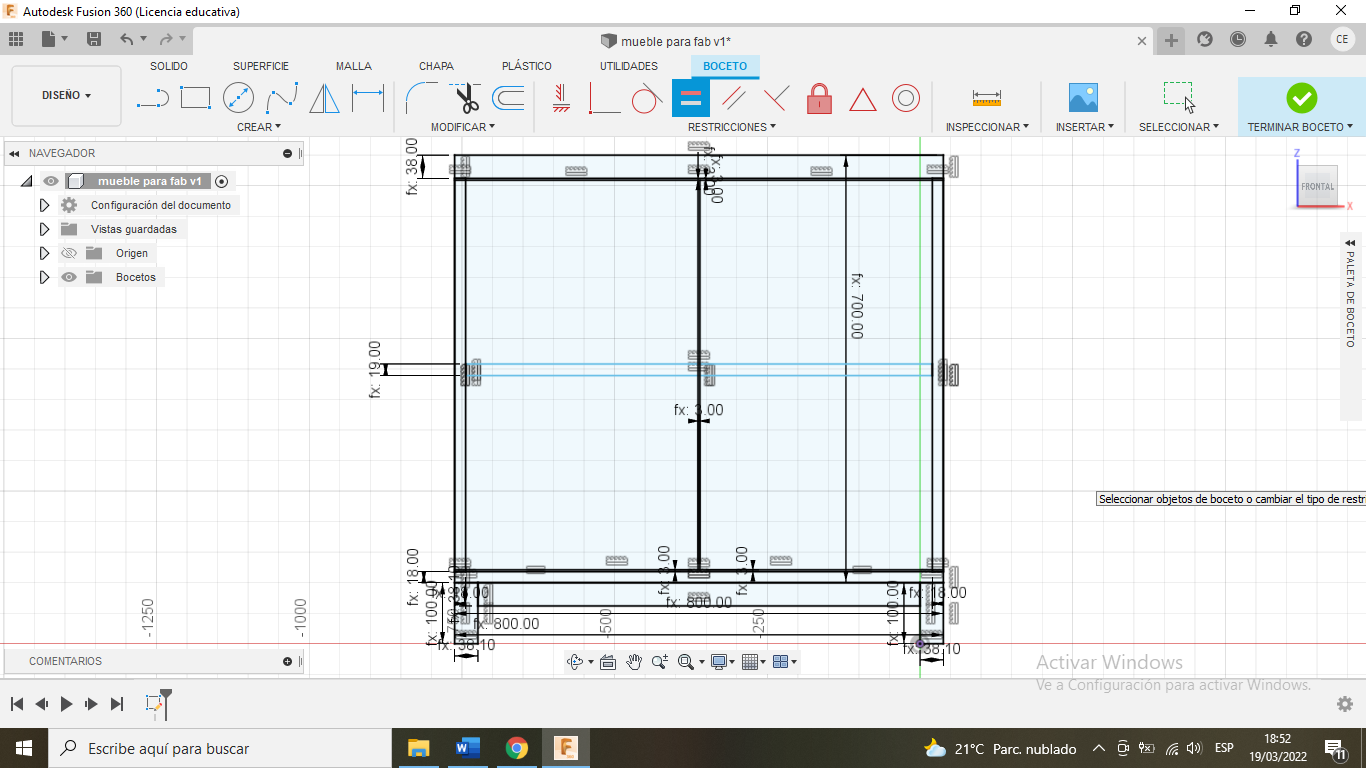
Then we designed the second complementary piece.
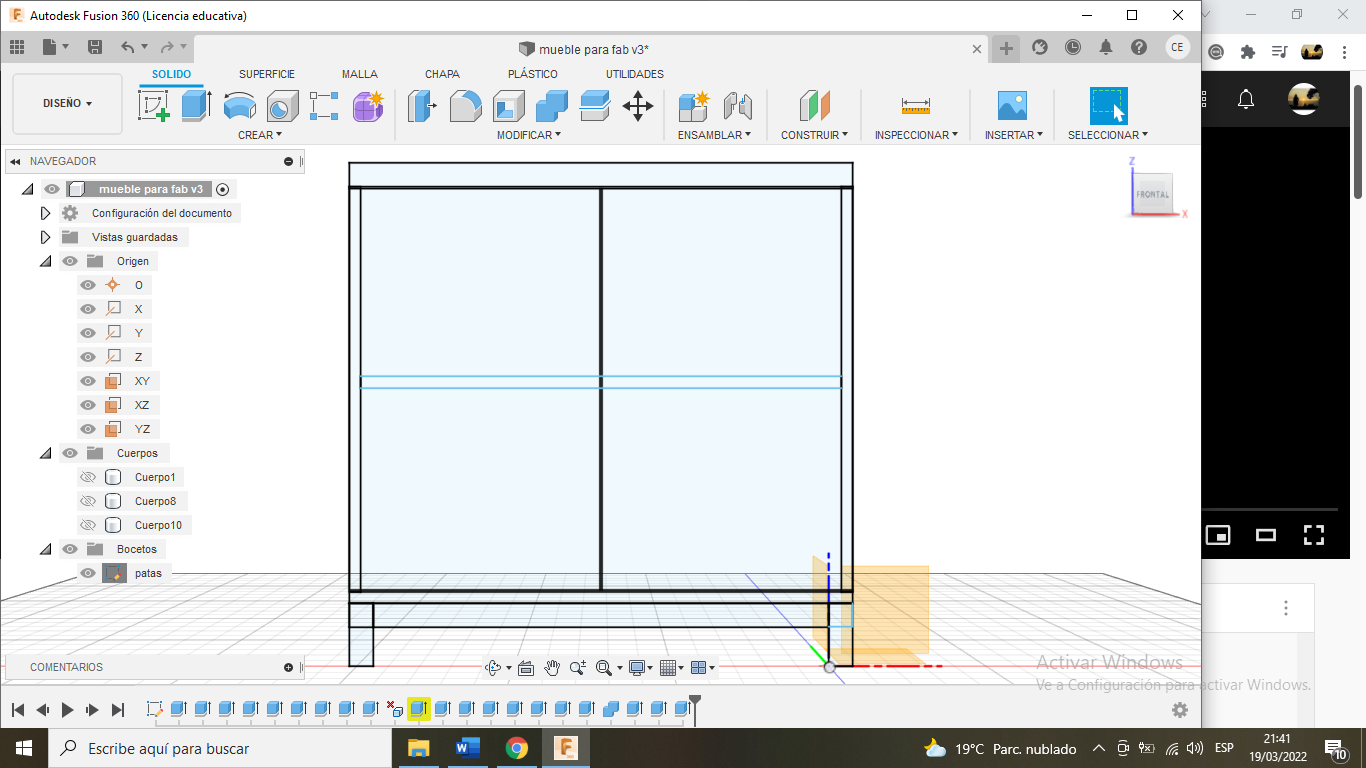
We show the isometric views of the assembly:
(a)
(b)
Finally we export the files in DWG and DXF format for the cutting process.
Cutting Process
The DWG files were first uploaded to Corel for preparation.
They were then sent to the CNC milling machine to begin the machining process.
At the end of the cut, we perform a light sanding to remove residue and small remains of the material.
Medición y Verificación
We measure the slot of part A with the caliper:
The measurement obtained was 9.4 mm.
Then we measure the slot of part B:
The measurement was also 9.4 mm.
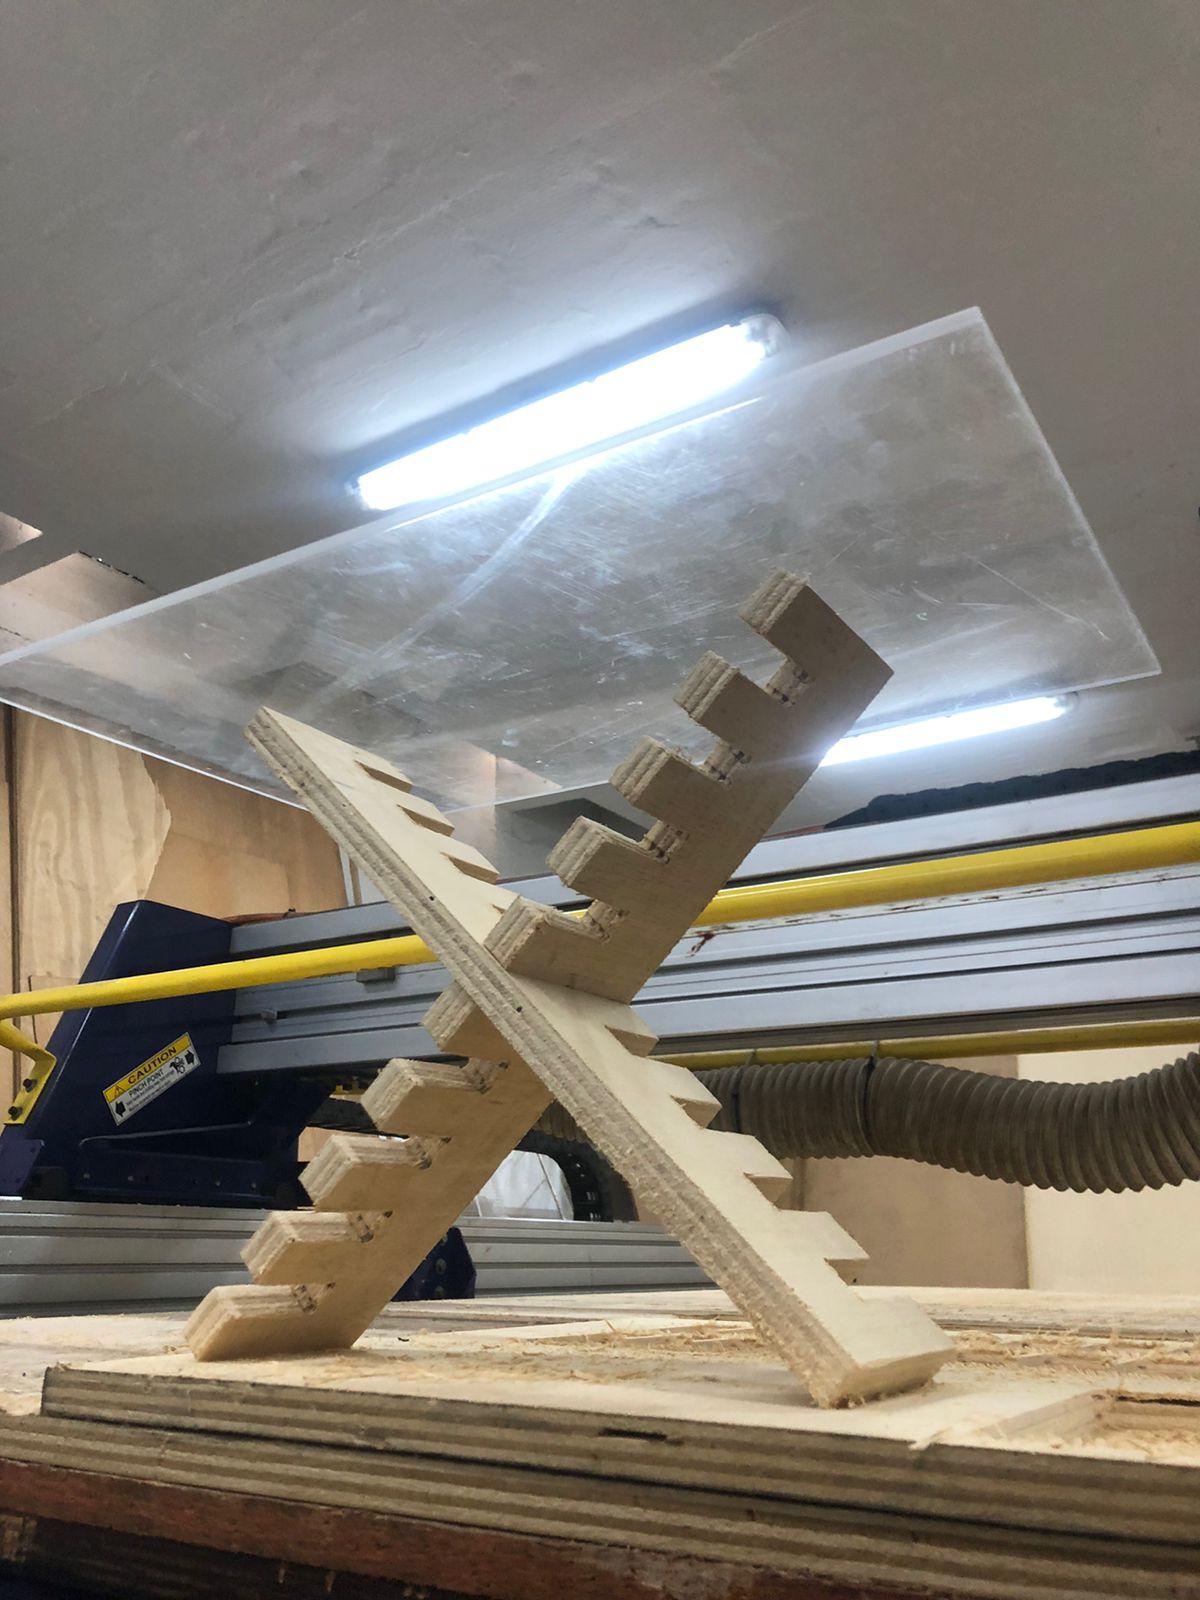
Ensamblaje Final
Procedimos a unir ambas piezas.
We observed that they fit smoothly, demonstrating that the tolerance was adequate.
Las piezas quedaron perfectamente unidas.
Tolerance test bottom view:
It is observed that the partitions are correctly overlapped, ensuring structural stability.
Final view of the assembly:
We also created the insignia of the Huando Institute
We import the huando badge into the inskape design program
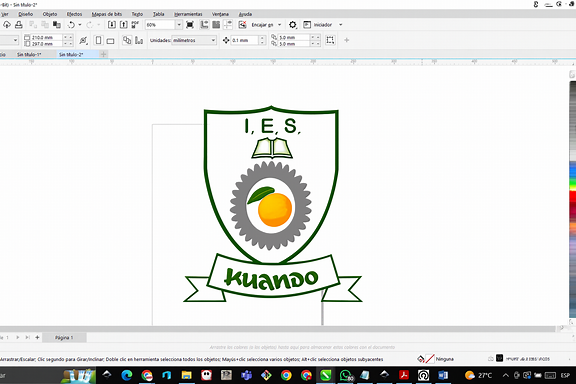
Then vectorize the image in the detailed program.
From the extensions menu we choose the milling machine and then we generate the milling gcode
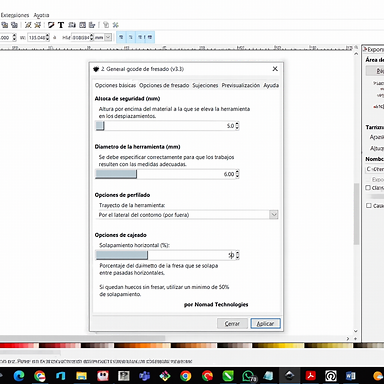
For this first case we choose the gcode configuration as shown in the image.
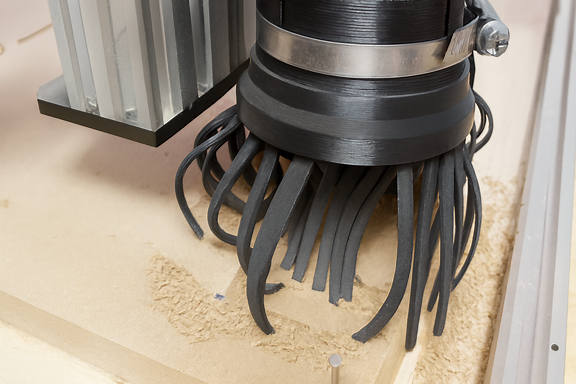
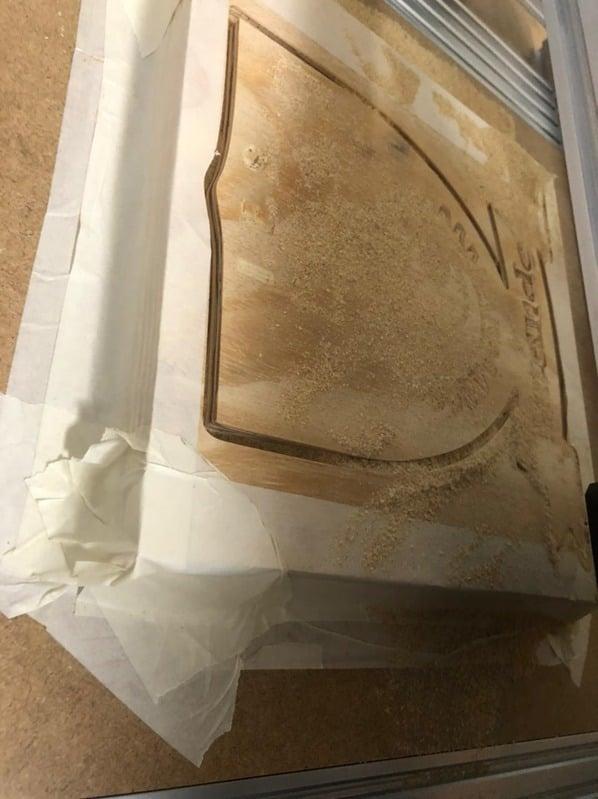
Already in the process of milling a design.
The first milling result when learning the depth settings.
Conclusión
This practice allowed me to understand the importance of:
Respect safety regulations.
Correctly configure the cutting parameters.
Consider tolerances in digital design.
Verify real measurements with precision instruments.
The test demonstrated that good design planning and correct machine configuration guarantee a clean and functional assembly.
Tarea individual:
Hacer (diseñar+fabricar+ensamblar) algo grande
We make a bunny chair with a speaker
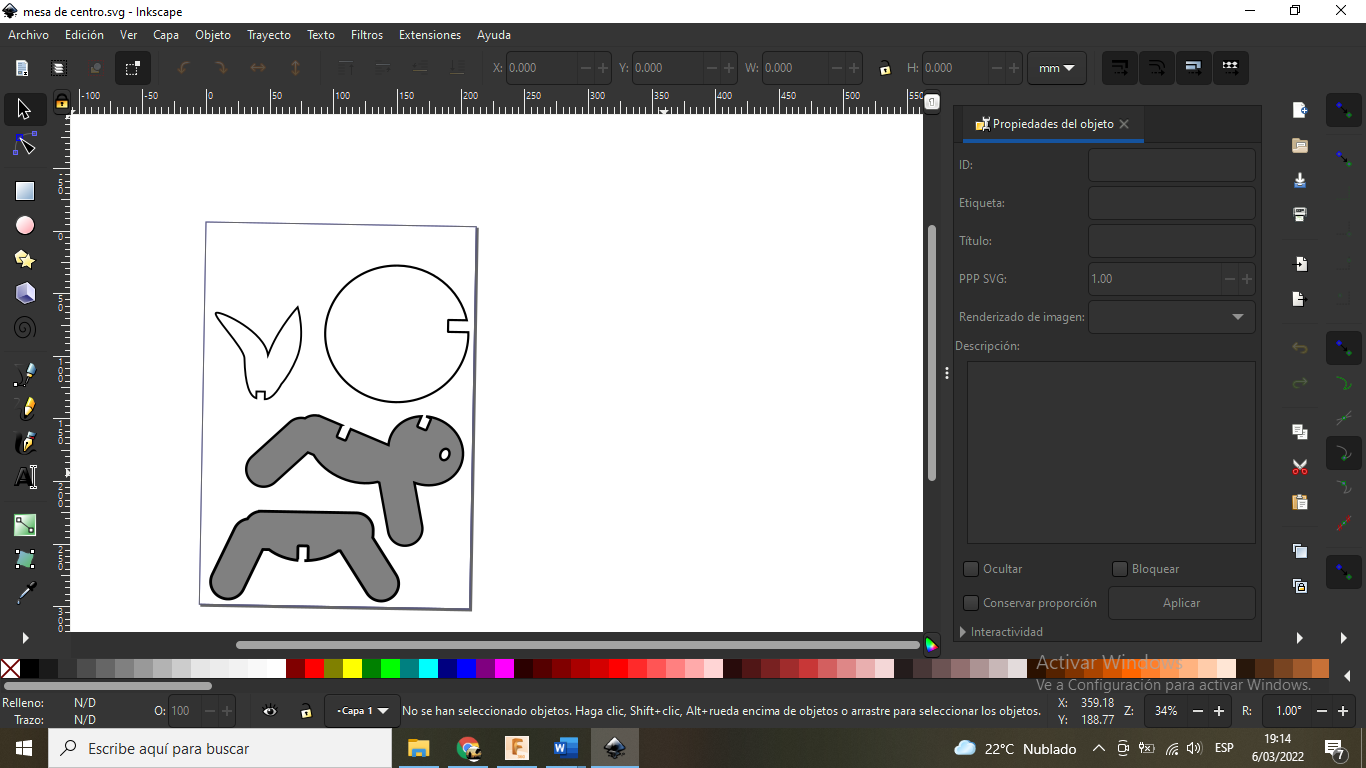
We will also cut down a Christmas tree
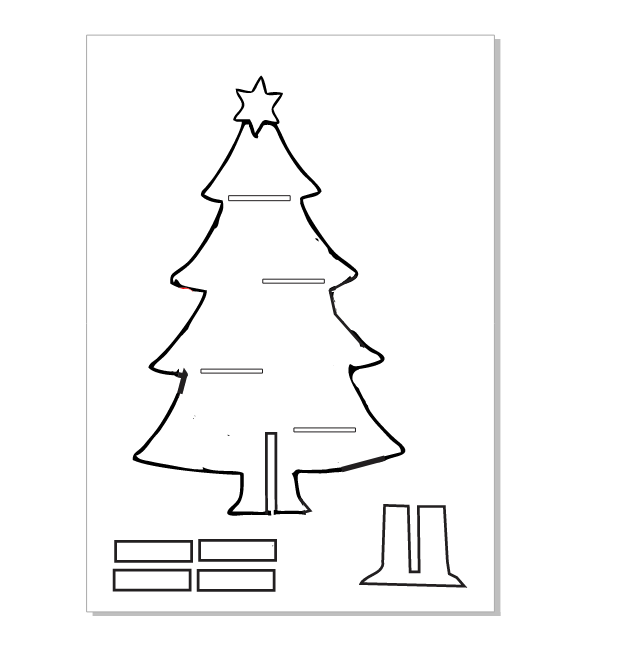
Creating more designs
