Computer Aided Design
Semana : 02
Computer-Aided Design – Smart Educational Fabrication Systems
Student: Cindy Marilyn Crispín Fab Lab: Fab Lab Huando Year: 2026
1. Project Modeling Overview
During this week I modeled experimental objects that are part of my final project:
• Smart Piggy Bank enclosure • Smart Plant Pot enclosure • Manual Seed Gun mechanical body • Custom PCB board outline • Internal structural supports
The objective was to evaluate and select appropriate 2D and 3D software tools and demonstrate modeling workflows for digital fabrication.
2. Software Evaluation and Selection
2D Software Used
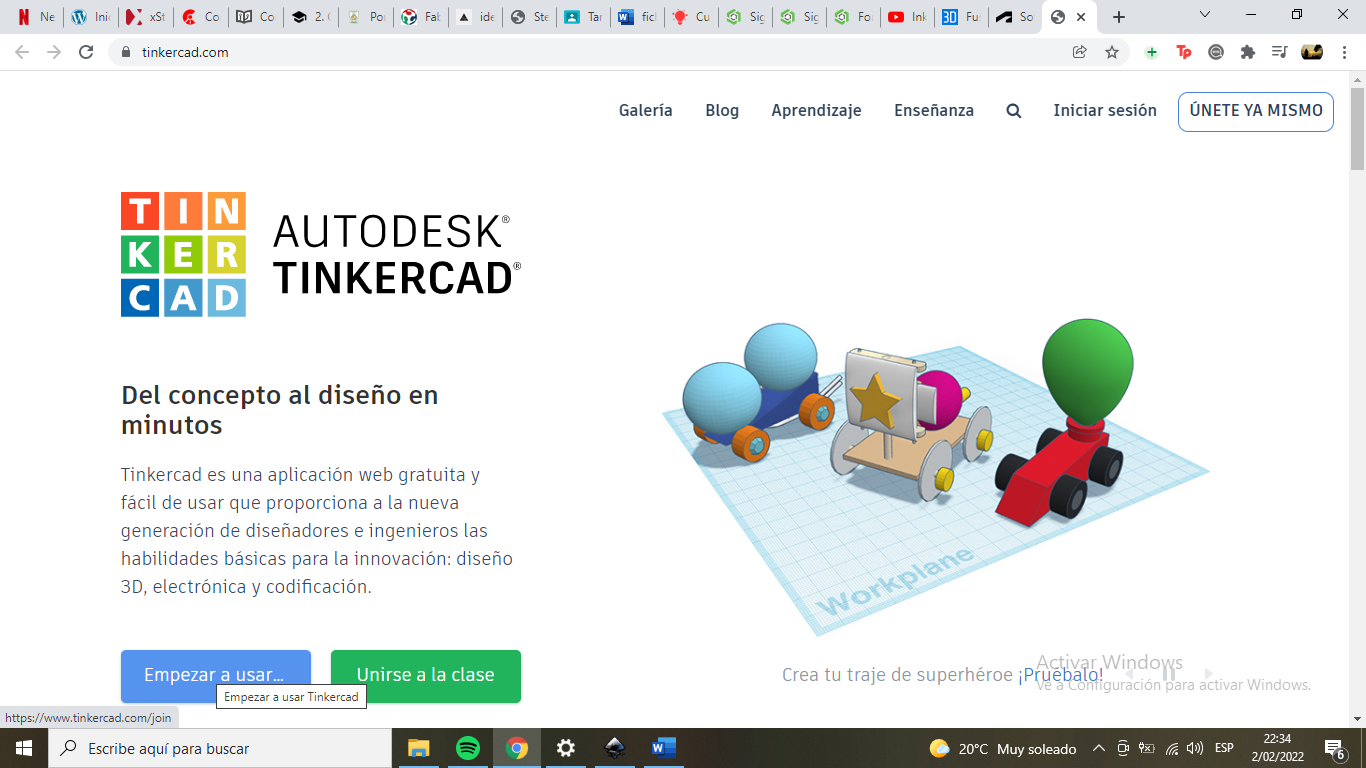
Download and use the inkscape program to design a 2D design.
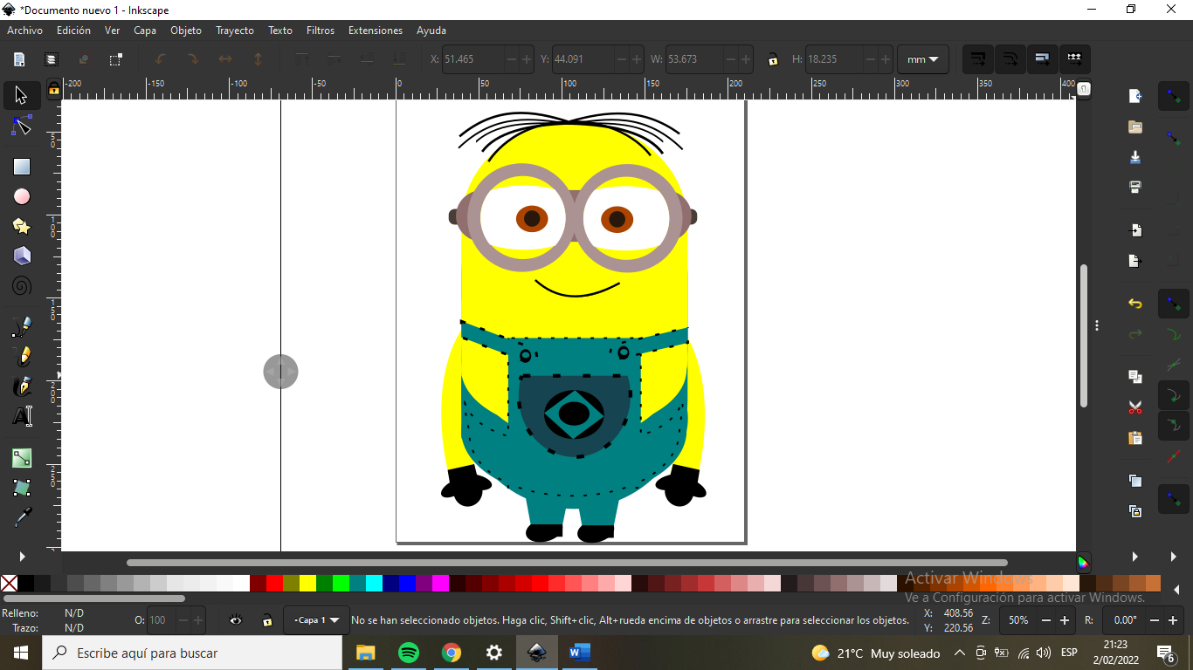
2D design with Inkscape
For the 2D graphics I decided to use Inkscape, which is a free and open source vector graphics editor.
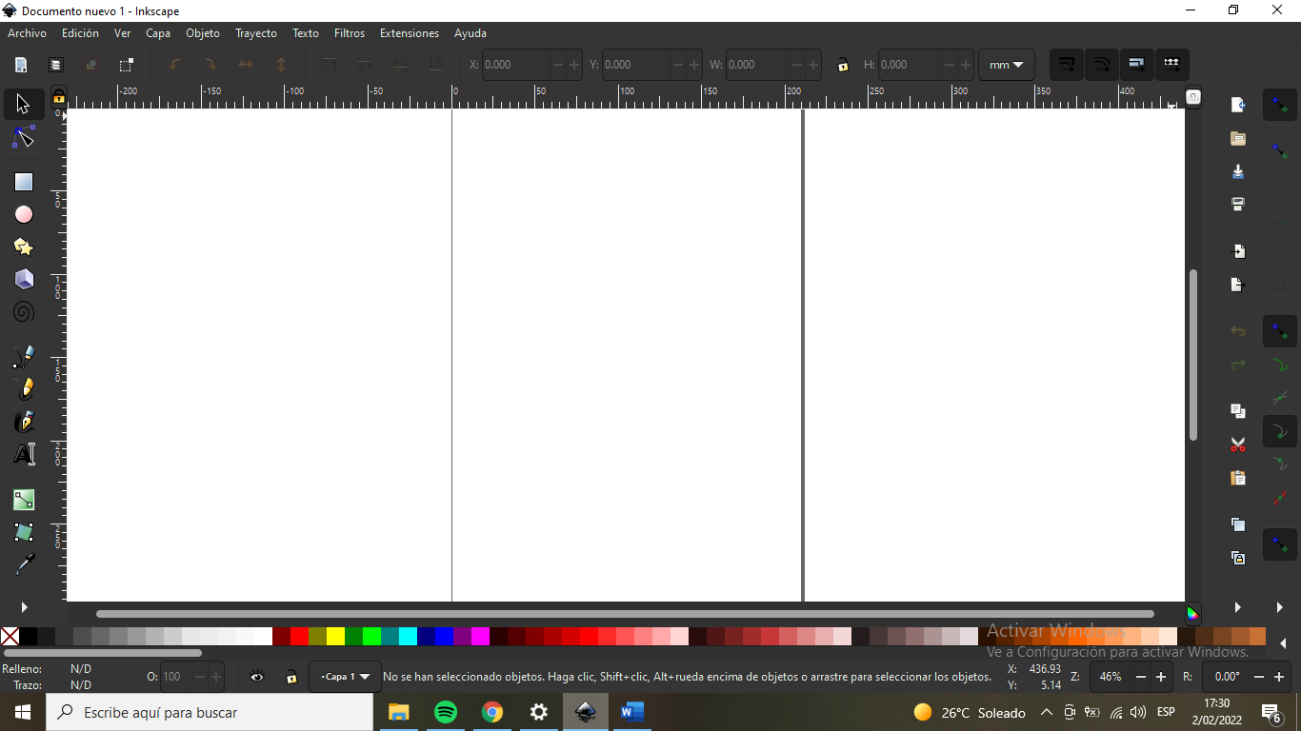
First, I'll start creating basic shapes, like a rectangle. To do this, I will focus on the following tools.

Then select the Retangle/square option and draw a rectangle.
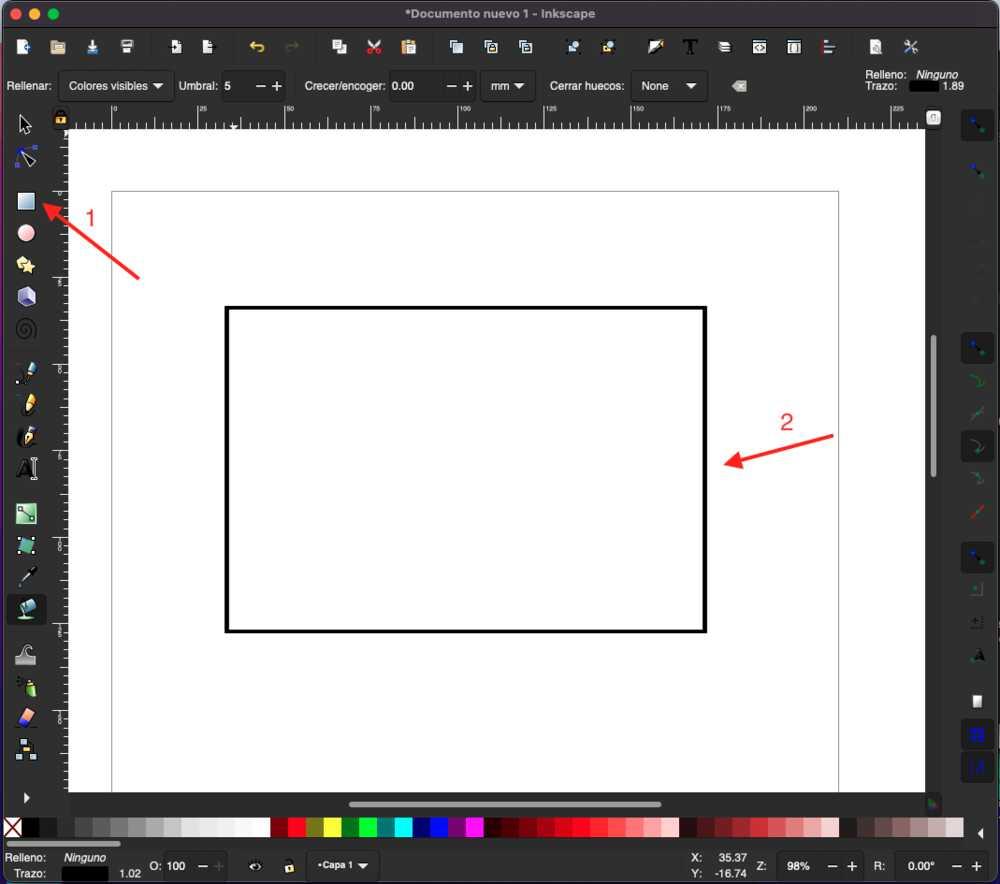
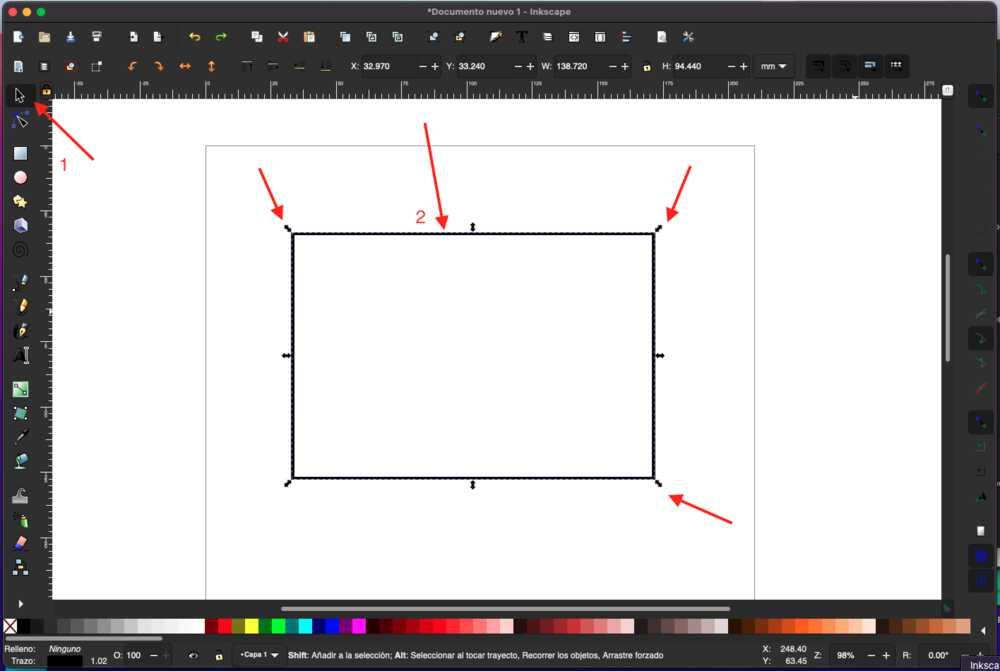
This is a basic form, but how about modifying its properties? To do this, we select the selection option and click on the lines if we only want to create a line or within the object, as in this case. Note that, after selecting it, eight arrows will appear around the object to change its shape. This means that we have an object selected.
I want to edit the object properties, so let's go to the menu bar Object -> Fill and Stroke. (Sorry, in my case it is in Spanish).
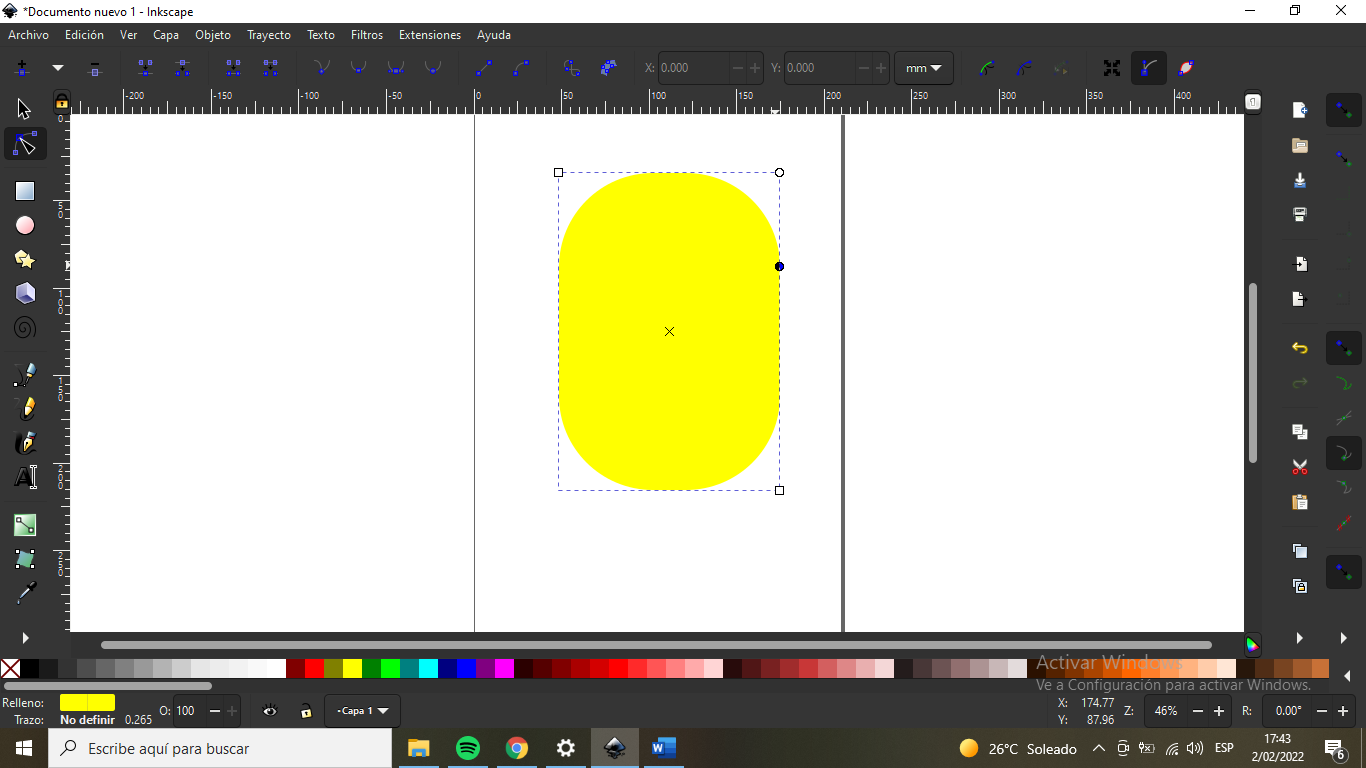
A window will appear on the right of the page with three tabs. Each one will allow us to change the filling. I will use a yellow color.
I think this is enough to start moving forward.
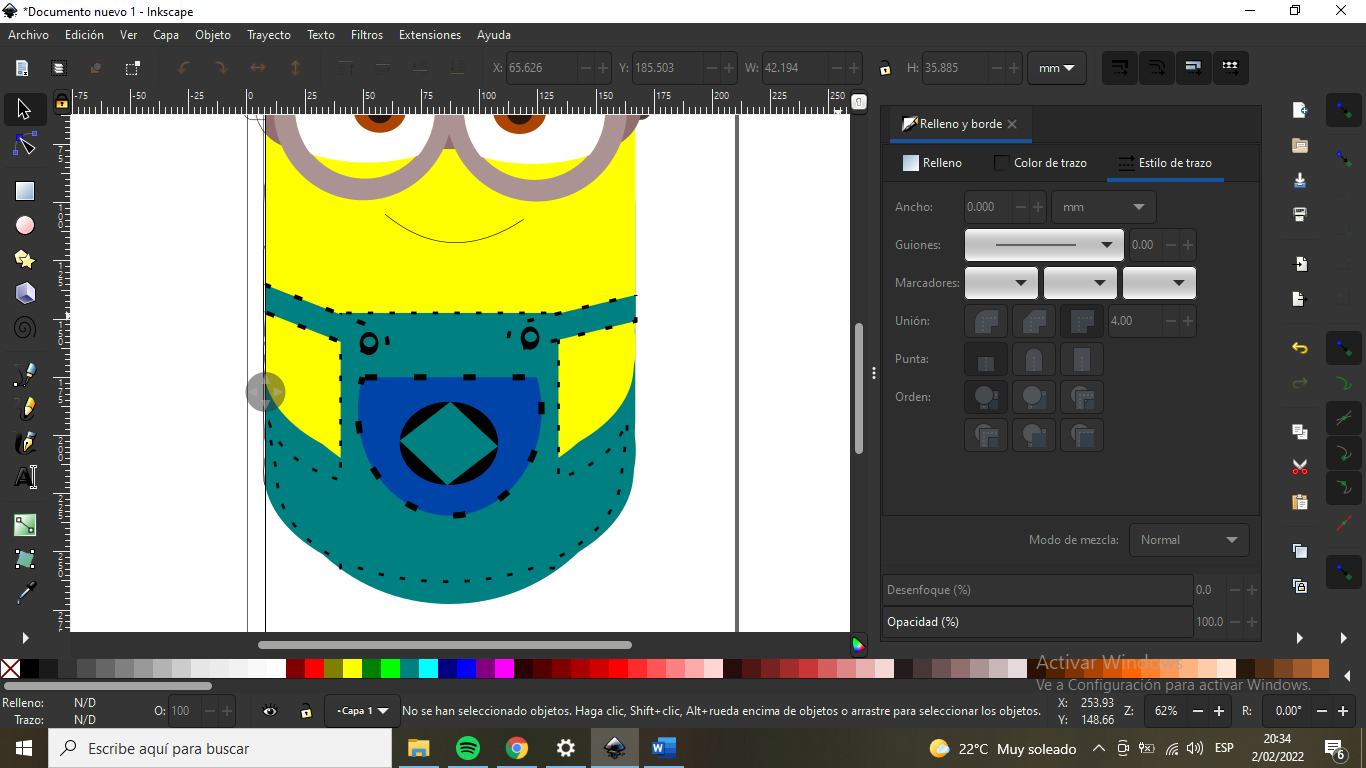
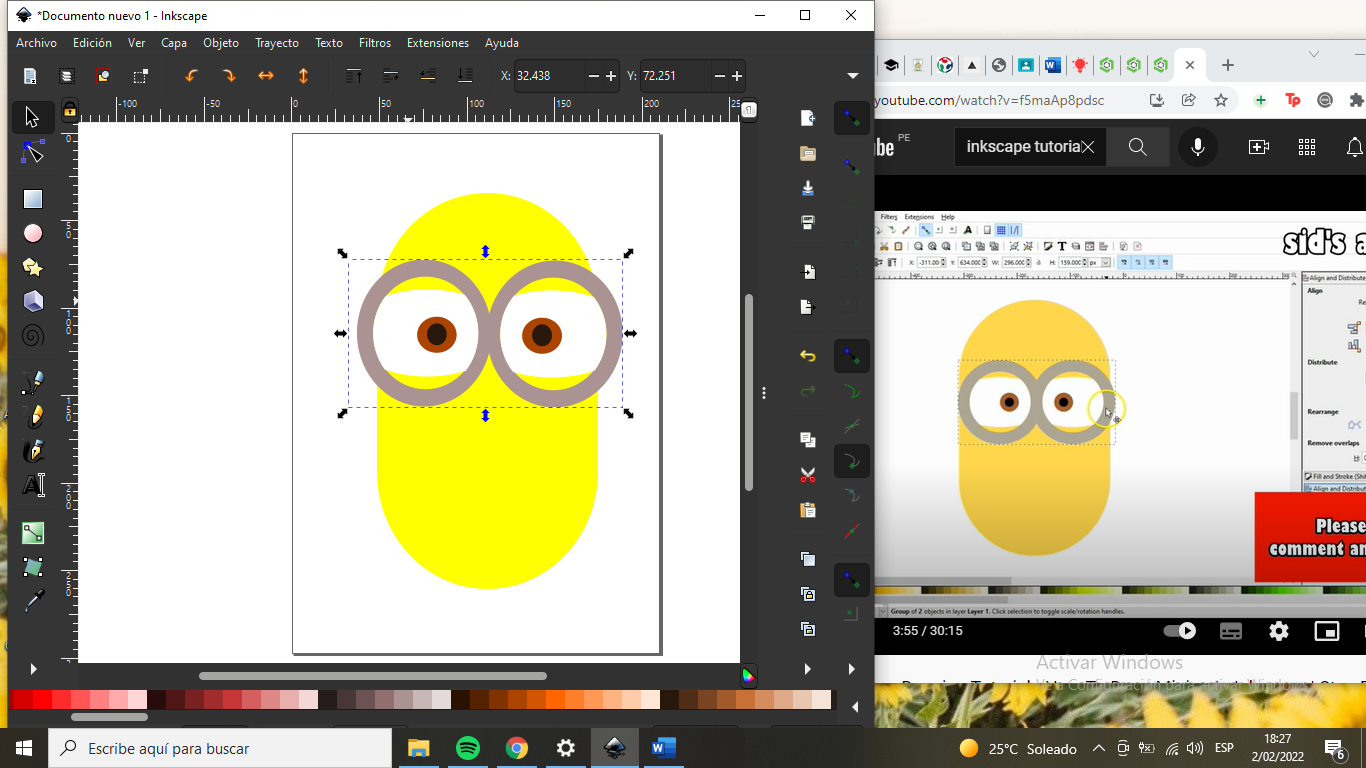
Then to start drawing my design with nothing but lines circles and color fill for my miniom
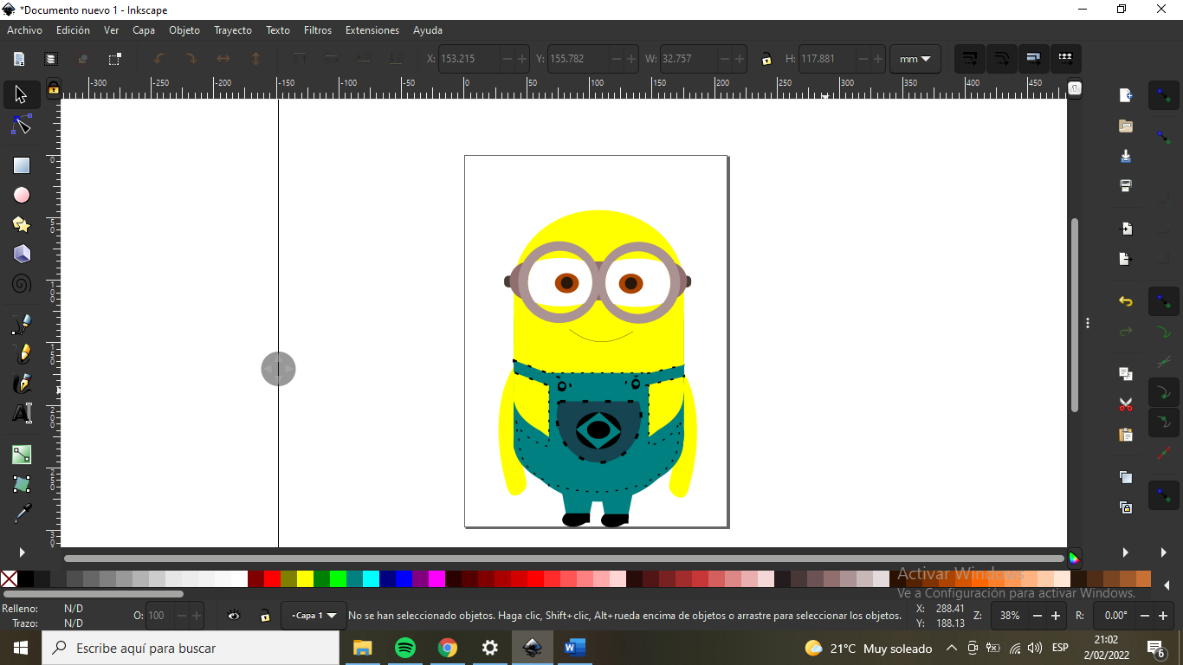
Finally I drew one of my ideas for the project: a miniom. I did the same as the previous design, using circles, lines and using fill.
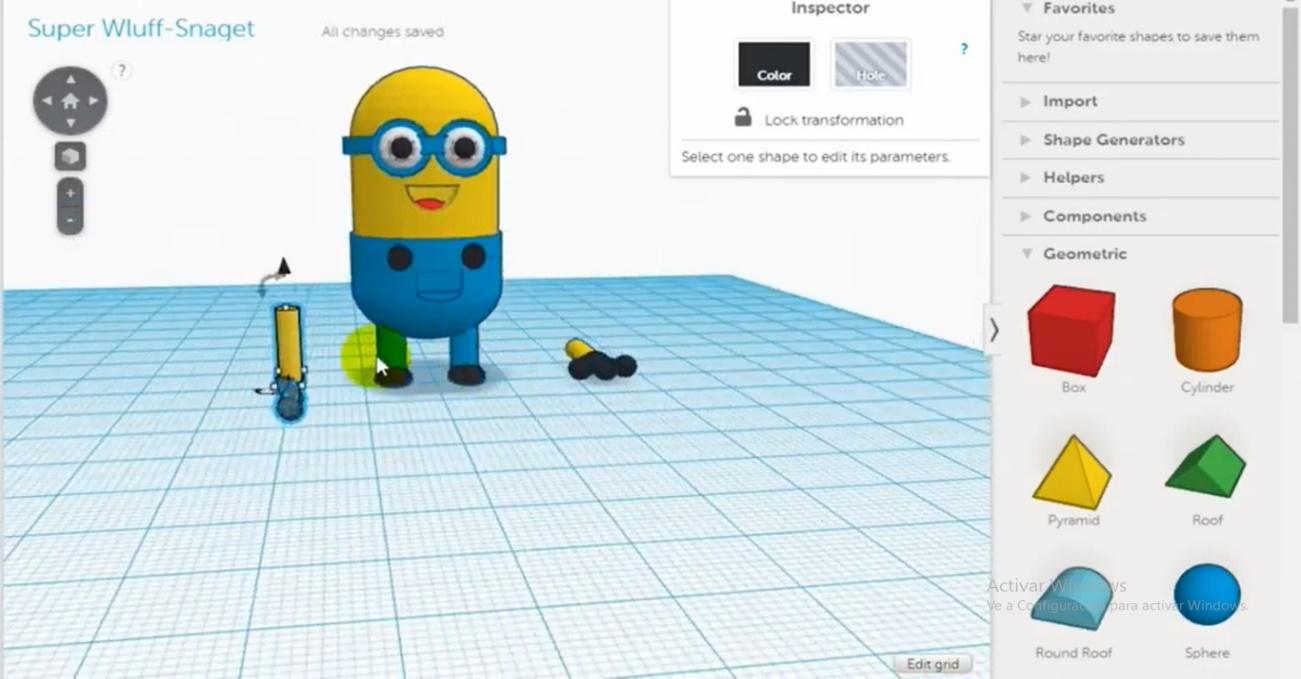
We make a minion with Tinkercad
We open the Tinkercad program
Let's open a blank work table
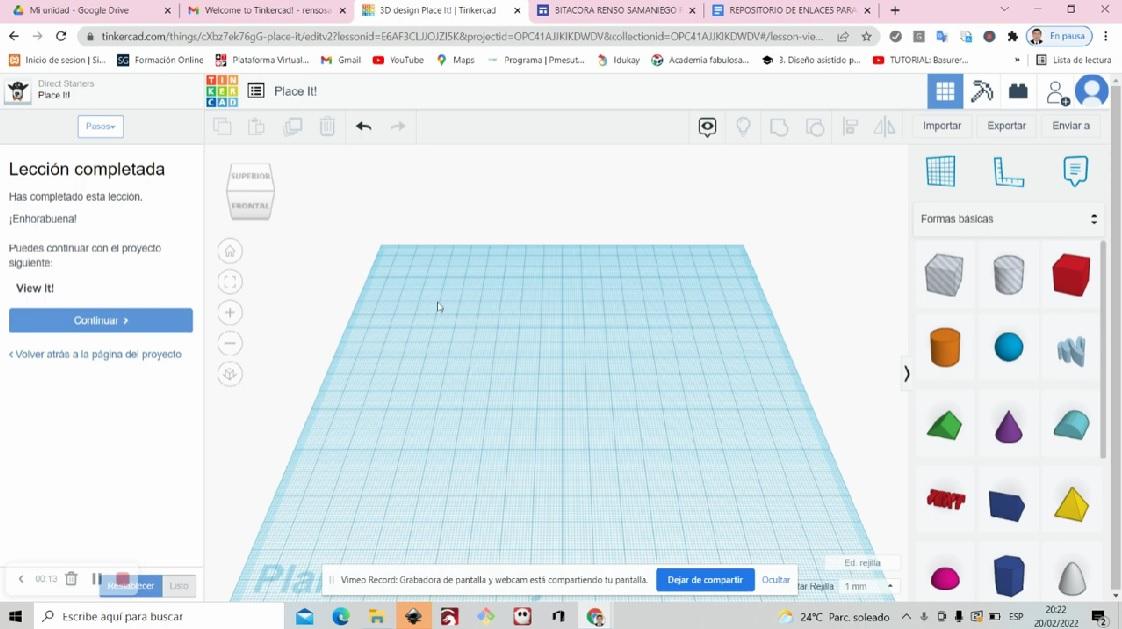
We click on basic shapes and select the cylinder shape and so on while we create our minion
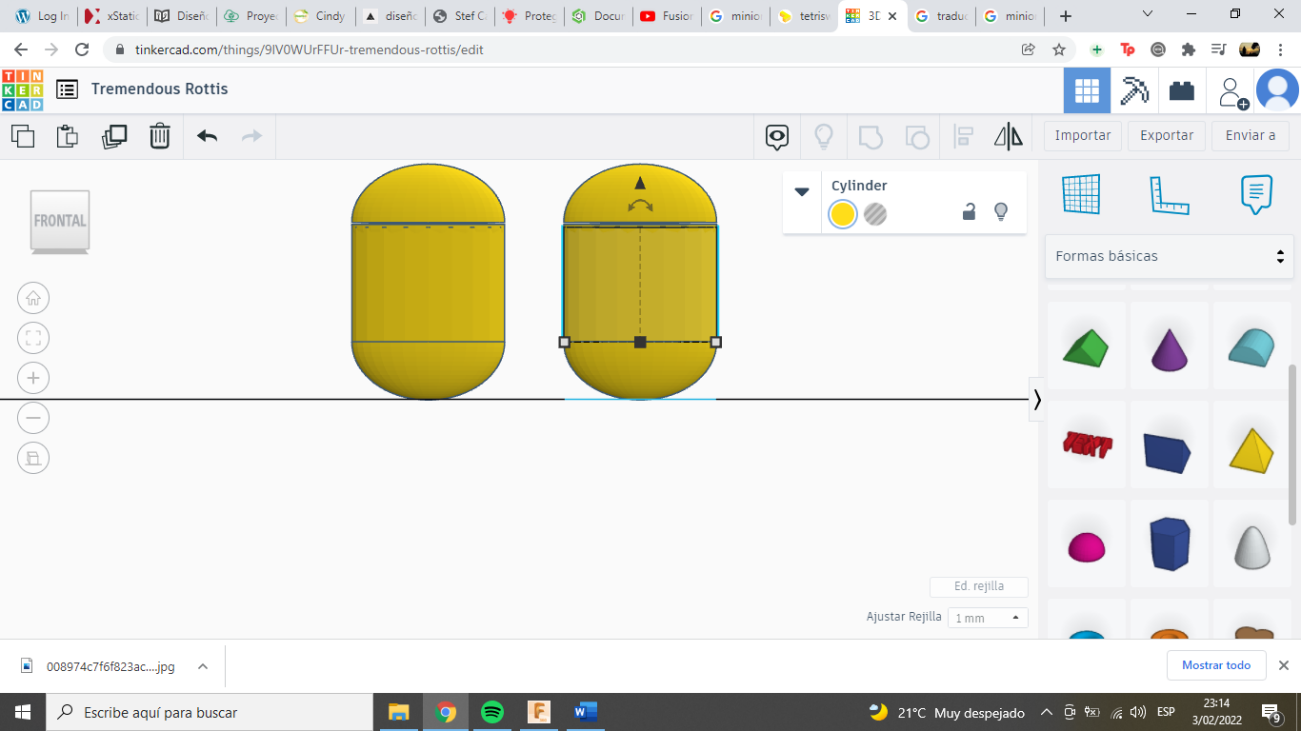
We make a 180 degree turn, we change the color of the bottom part of our minion
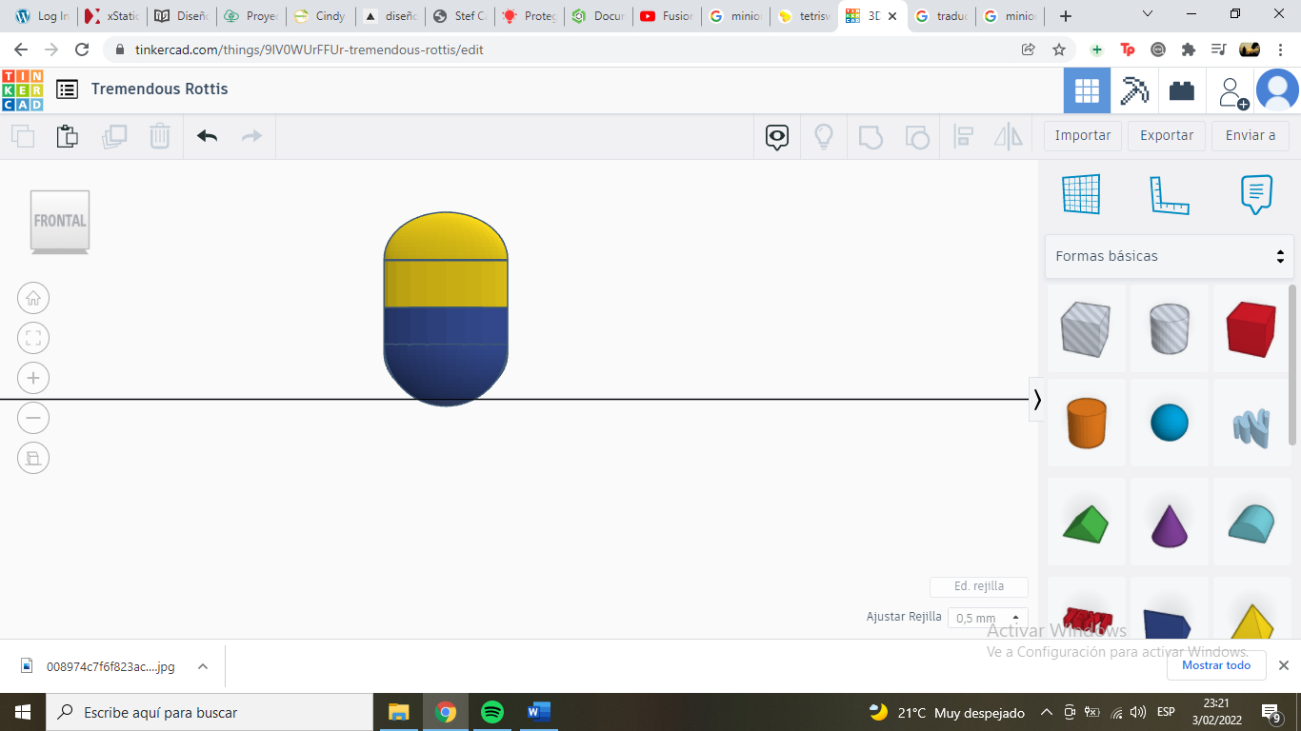
We put it in top view and place the pieces like the arms and legs, we make the circles for the minion's eyes
Creating this model required a variety of computer-aided design skills, both in Inkscape and Tinkercard. In this section, I will include links to the video tutorials I used to learn each of these skills. I'll also include some of the videos below. Below is a list of required skills.
https://www.canva.com/design/DAE4AmChpwk/NDvbH0zqO3IQ3zD8kEZvDQ/view?utm_content=DAE4AmChpwk&utm_campaign=designshare&utm_medium=embeds&utm_source=link
Video Compression Process
https://youtu.be/TKpchk09Rqg
Original Design Files Included
All original design files are included: